Bariatric Gelatin Recipe – Easy & Healthy Weight Loss
If you’re looking for a light, protein-rich, and stomach-friendly snack, this bariatric gelatin recipe is exactly what you need. Designed especially for post-surgery diets and portion-controlled eating, this simple gelatin cup is gentle on digestion while helping you stay on track with your weight goals.
Many people search for how to make bariatric gelatin recipe that’s both flavorful and nutritious. The good news? It’s incredibly easy, requires minimal ingredients, and can be customized to fit your specific dietary stage—clear liquid, full liquid, or soft foods.
This guide will walk you through the bariatric gelatin recipe step by step recipe, including ingredient details, pro tips, meal prep ideas, and storage instructions. Whether you’re in early recovery or just want a high-protein, low-calorie treat, this recipe is beginner-friendly and foolproof.
Why You’ll Love This Bariatric Gelatin Recipe
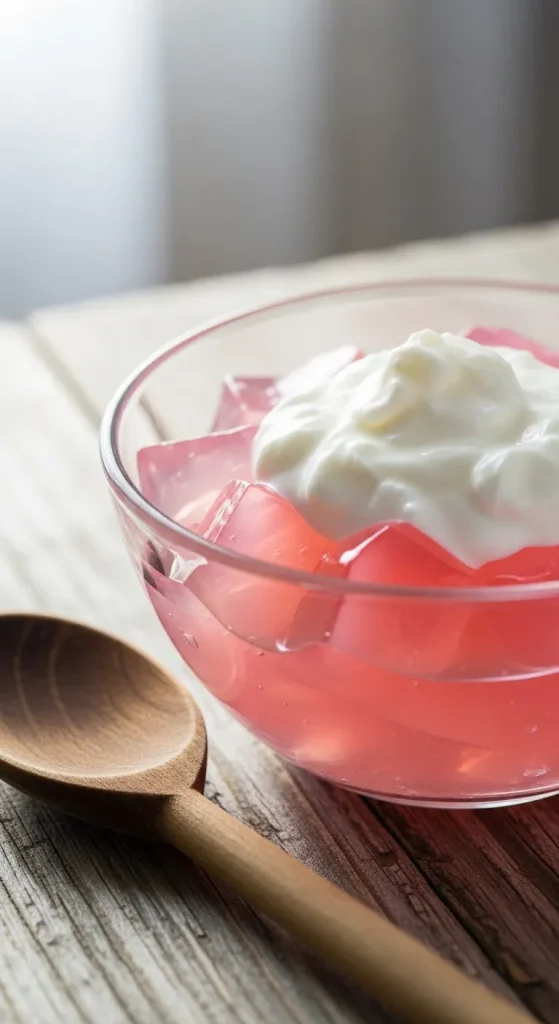
This easy homemade bariatric gelatin recipe checks all the boxes:
- Low-calorie and portion-controlled
- Light on the stomach
- Hydrating and refreshing
- Supports protein intake
- Simple 10-minute prep
- Budget-friendly ingredients
- Great for bariatric meal prep version
Additionally, it fits well into:
- Post-bariatric surgery diet plans
- Weight management routines
- Low-sugar snack options
- High-protein snack rotations
It’s especially helpful during the clear liquid stage or when transitioning into soft foods.
Ingredients (Exact Measurements)
Here are the bariatric gelatin recipe ingredients you’ll need:
- 1 packet (0.3 oz / 8.5g) sugar-free gelatin powder
- 1 cup boiling water
- ½ cup cold water
- Optional: 1 scoop unflavored protein powder (10–15g protein)
- Optional: 1–2 tbsp Greek yogurt (for creamy version)
This quantity makes 2–3 small bariatric portions.
Prep Time: 10 minutes
Chill Time: 2–4 hours
Total Time: About 4 hours
Ingredient Notes
Sugar-Free Gelatin
Always choose sugar-free varieties to keep calories low and prevent dumping syndrome.
Protein Powder
Use unflavored whey isolate or collagen peptides for easy mixing and better texture.
Greek Yogurt
Adds creaminess and extra protein but should only be used in later diet stages.
Water Temperature Matters
Boiling water helps fully dissolve the gelatin crystals, preventing grainy texture.
Equipment Needed
- Heat-safe mixing bowl
- Whisk or spoon
- Measuring cups
- Small ramekins or silicone molds
- Refrigerator
No fancy equipment required — making this bariatric gelatin recipe for beginners is truly simple.
How to Make Bariatric Gelatin Recipe (Step-by-Step Guide)
Here’s the best way to make bariatric gelatin recipe safely and smoothly.
Step 1: Dissolve the Gelatin
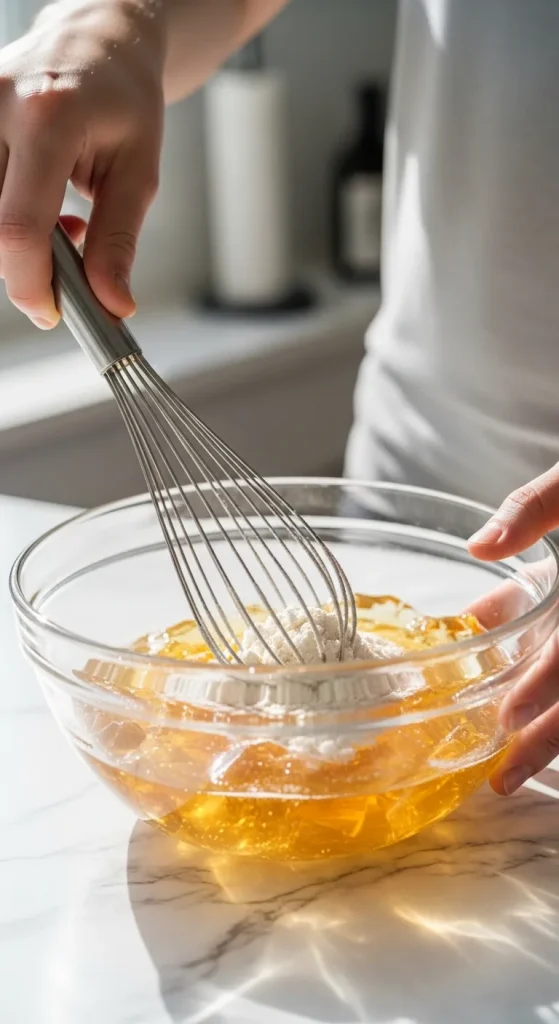
Pour 1 cup of boiling water into a mixing bowl. Add the sugar-free gelatin powder.
Whisk gently for 1–2 minutes until completely dissolved. There should be no visible granules.
The liquid should look clear and glossy.
Step 2: Add Cold Water
Stir in ½ cup cold water to cool the mixture slightly.
If you’re adding protein powder, let the liquid cool for 2–3 minutes first to prevent clumping.
Step 3: Add Protein (Optional)
Slowly sprinkle protein powder while whisking continuously.
Mix until fully incorporated and smooth.
Avoid over-whisking, which can create foam.
Step 4: Pour & Chill
Pour the mixture into small portion cups or silicone molds.
Refrigerate for at least 2–4 hours until fully set.
The texture should be firm but jiggly — never rubbery.
Step 5: Serve
Serve chilled. For a creamy version, top with 1 tablespoon Greek yogurt.
Enjoy slowly and mindfully, especially if you’re in early bariatric recovery.
Pro Tips for Best Results
- Use room-temperature protein powder for better blending
- Avoid adding protein to extremely hot liquid
- Stir gently to minimize bubbles
- Chill uncovered for faster setting
- Use small containers for portion control
For bariatric meal prep version, prepare multiple flavors at once and label them by date.
Common Mistakes to Avoid
Even a simple recipe can go wrong. Here’s what to watch for:
- Adding protein to boiling liquid
- Using regular (high-sugar) gelatin
- Overfilling portions
- Not allowing full chill time
- Skipping whisking step
Small adjustments make a big difference in texture and digestibility.
Substitutions & Variations
1. Creamy Bariatric Gelatin
Mix in 1–2 tablespoons Greek yogurt before chilling for a mousse-like consistency.
2. Collagen Boost Version
Add 1 scoop collagen peptides for added protein support.
3. Electrolyte Gelatin
Replace cold water with a sugar-free electrolyte drink for hydration support.
4. Bariatric Gelatin Meal Prep Version
Prepare multiple flavors in advance:
- Lemon-lime
- Berry blend
- Orange
- Cherry
Store in individual 4-oz containers for grab-and-go snacks.
5. Vegan Alternative
Use agar-agar powder instead of gelatin (note: texture will be firmer).
Storage Instructions
Store covered in the refrigerator for up to 5 days.
Keep away from strong-smelling foods to prevent flavor absorption.
Do not freeze — freezing changes texture.
Reheating Instructions
This recipe is served cold.
If texture becomes slightly watery, stir gently before serving.
Serving Suggestions
- As a mid-morning protein snack
- After meals for something sweet
- With a spoonful of cottage cheese
- As part of bariatric portion-controlled meals
It pairs well with other soft diet options like protein shakes or clear soups.
Nutritional Overview (Approximate Per Serving)
Without protein powder:
- Calories: 10–15
- Sugar: 0g
- Protein: 1–2g
With protein powder:
- Calories: 60–80
- Protein: 10–15g
Exact values depend on brand and added ingredients.
Frequently Asked Questions
Conclusion
This bariatric gelatin recipe is simple, light, and incredibly practical for post-surgery nutrition or weight-conscious eating. It’s quick to prepare, easy to digest, and customizable to your dietary stage.
If you’ve been searching for the best way to make bariatric gelatin recipe at home, this foolproof guide gives you everything you need — from ingredients to storage tips.
Prepare a batch today and enjoy a refreshing, protein-friendly treat that supports your health goals without compromising flavor.
Tips for Bariatric Gelatin
Add Protein Powder Carefully
Unflavored protein powder boosts the protein, but it can clump or make the gelatin rubbery. Dissolve it fully in the hot liquid before adding the gelatin, and don’t exceed the amount your plan allows.
Stick to Sugar-Free
Sugar-free gelatin and sweeteners keep the carbs low and the calories minimal — important for bariatric goals. Regular gelatin works the same mechanically, but the sugar adds up fast.
Use Portion Cups
Set the gelatin in small 4-ounce cups or ramekins. Pre-portioned servings make tracking intake easy and prevent overeating — a small habit that helps a lot.
Gelatin Variations by Diet Stage
Clear Liquid Stage
Use plain unflavored gelatin dissolved in clear broth or sugar-free clear liquid. Keep it simple — this stage is about hydration and gentle intake.
Full Liquid Stage
Add a little unflavored protein powder and use milk or a protein shake as part of the liquid for a creamier, more filling gelatin cup.
Soft Foods Stage
Fold in a spoonful of smooth sugar-free yogurt once the gelatin is partially set, or top with a little soft fruit your plan allows. Always follow your surgeon’s stage guidelines.
Is gelatin OK after bariatric surgery?
Generally yes — plain gelatin is a staple of post-bariatric liquid diets because it’s gentle and hydrating. But always follow your own surgeon’s specific plan and stage timelines, which vary.
How long does gelatin take to set?
At least 4 hours in the refrigerator for a firm set. Don’t rush it at room temperature, and don’t freeze it hoping to speed things up — freezing ruins the texture.
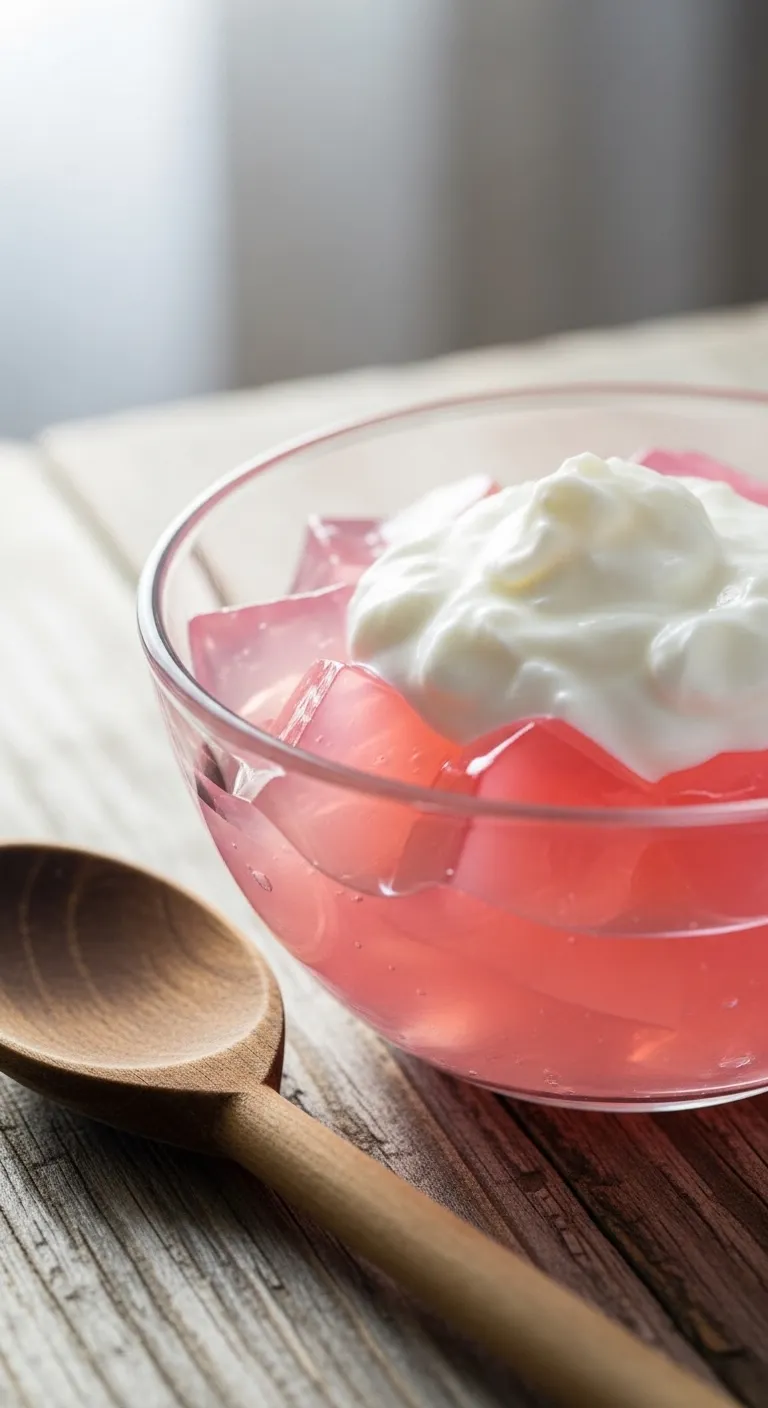

Bariatric Gelatin Recipe
Ingredients
Equipment
Method
- Step 1: Dissolve the Gelatin
- Pour 1 cup of boiling water into a mixing bowl. Add the sugar-free gelatin powder.
- Whisk gently for 1–2 minutes until completely dissolved. There should be no visible granules.
- The liquid should look clear and glossy.
- Step 2: Add Cold Water
- Stir in ½ cup cold water to cool the mixture slightly.
- If you’re adding protein powder, let the liquid cool for 2–3 minutes first to prevent clumping.
- Step 3: Add Protein (Optional)
- Slowly sprinkle protein powder while whisking continuously.
- Mix until fully incorporated and smooth.
- Avoid over-whisking, which can create foam.
- Step 4: Pour & Chill
- Pour the mixture into small portion cups or silicone molds.
- Refrigerate for at least 2–4 hours until fully set.
- The texture should be firm but jiggly — never rubbery.
- Step 5: Serve
- Serve chilled. For a creamy version, top with 1 tablespoon Greek yogurt.
- Enjoy slowly and mindfully, especially if you’re in early bariatric recovery.