Black Velvet Cupcakes Recipe – Rich, Moist & Decadent
If you’re looking for a dessert that combines dramatic looks with irresistible flavor, these Black Velvet Cupcakes are exactly what you need. Rich, moist, and deeply chocolatey, these cupcakes are a striking twist on traditional red velvet cupcakes. Their dark color makes them perfect for Halloween parties, gothic-themed celebrations, birthdays, or simply whenever you’re craving a decadent chocolate dessert.
Unlike ordinary chocolate cupcakes, black velvet cupcakes have a velvety crumb, intense cocoa flavor, and a luxurious texture that practically melts in your mouth. The secret lies in combining high-quality cocoa powder with buttermilk and a touch of black food coloring to create that signature dark appearance.
Topped with silky cream cheese frosting or classic buttercream, these cupcakes offer the perfect balance of sweetness and richness. Whether you’re an experienced baker or a beginner searching for an easy homemade cupcake recipe, this black velvet cupcake recipe delivers bakery-quality results every time.
These cupcakes can easily be adapted to fit various dietary preferences, including gluten-free and dairy-free variations. Let’s dive into everything you need to know to make the most delicious black velvet cupcakes from scratch.
Ingredients
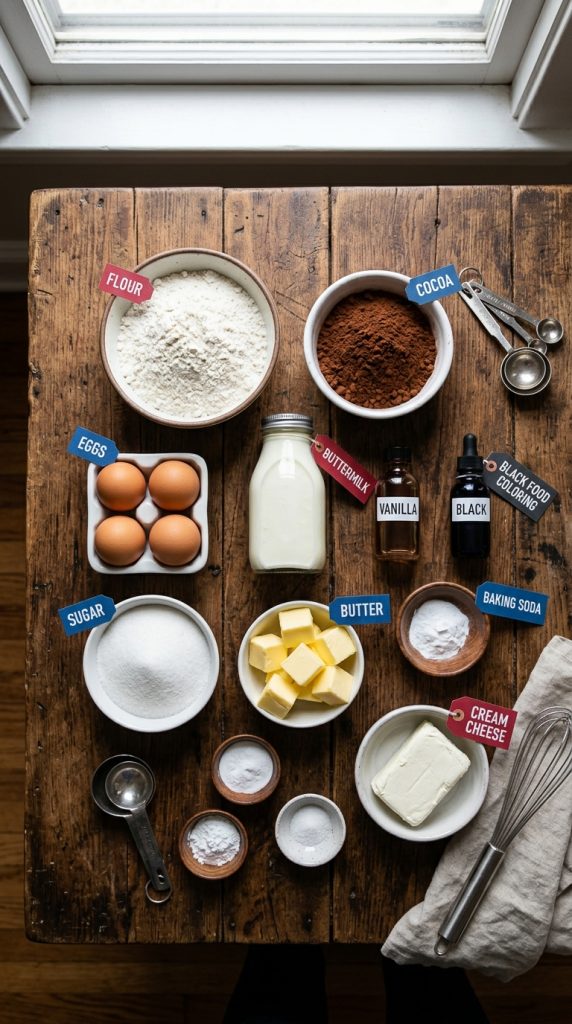
For the Cupcakes
- 1½ cups (190g) all-purpose flour
- ½ cup (50g) unsweetened Dutch-process cocoa powder
- 1 teaspoon baking soda
- ½ teaspoon baking powder
- ½ teaspoon salt
- ¾ cup (170g) granulated sugar
- ½ cup (100g) brown sugar
- 2 large eggs, room temperature
- ½ cup (120ml) vegetable oil
- ¾ cup (180ml) buttermilk
- 1 teaspoon vanilla extract
- 1 tablespoon black gel food coloring
- ½ cup (120ml) hot coffee or hot water
For the Cream Cheese Frosting
- 8 ounces (225g) cream cheese, softened
- ½ cup (115g) unsalted butter, softened
- 3 cups (360g) powdered sugar
- 1 teaspoon vanilla extract
- Pinch of salt
Optional Garnishes
- Chocolate shavings
- Black sprinkles
- Crushed chocolate cookies
- Edible glitter
- Dark chocolate curls
Ingredient Variations
- Replace buttermilk with dairy-free milk plus 1 teaspoon vinegar.
- Use gluten-free flour blend for gluten-free black velvet cupcakes.
- Swap cream cheese frosting for chocolate buttercream.
- Add mini chocolate chips for extra richness.
Equipment
To make these homemade black velvet cupcakes, you’ll need:
- 12-cup muffin tin
- Cupcake liners
- Large mixing bowl
- Medium mixing bowl
- Electric hand mixer or stand mixer
- Measuring cups and spoons
- Rubber spatula
- Whisk
- Cooling rack
- Piping bag and decorating tip
Alternative Equipment
- A whisk can replace an electric mixer for the batter.
- Zip-top bags can be used instead of piping bags.
- Silicone cupcake molds work well if you don’t have liners.
Instructions / Method
Step 1: Prepare the Oven
Preheat your oven to 350°F (175°C). Line a 12-cup muffin tin with cupcake liners.
Step 2: Mix the Dry Ingredients
In a medium bowl, whisk together:
- Flour
- Cocoa powder
- Baking soda
- Baking powder
- Salt
Set aside.
Step 3: Combine the Wet Ingredients
In a large mixing bowl, whisk together:
- Granulated sugar
- Brown sugar
- Eggs
- Vegetable oil
- Buttermilk
- Vanilla extract
- Black food coloring
Mix until smooth and evenly colored.
Step 4: Create the Batter
Gradually add the dry ingredients to the wet mixture.
Mix until just combined. Avoid overmixing, which can make cupcakes dense.
Slowly pour in the hot coffee while stirring. The batter will appear thin, but that’s normal and helps create moist black velvet cupcakes.
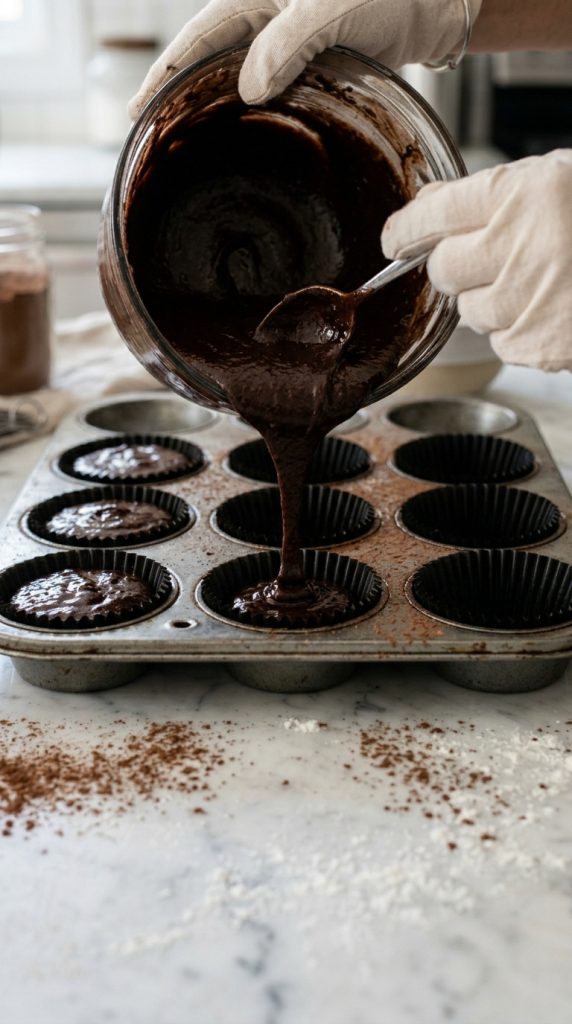
Step 5: Fill the Cupcake Liners
Fill each cupcake liner about two-thirds full.
This allows room for the cupcakes to rise evenly without overflowing.
Step 6: Bake
Bake for 18–22 minutes or until a toothpick inserted into the center comes out with only a few moist crumbs.
Avoid overbaking to maintain a soft velvet texture.
Step 7: Cool Completely
Allow cupcakes to cool in the pan for 5 minutes.
Transfer them to a wire rack and cool completely before frosting.
Step 8: Prepare the Frosting
Beat cream cheese and butter together until smooth and fluffy.
Gradually add powdered sugar, one cup at a time.
Mix in vanilla extract and salt.
Continue beating until light and creamy.
Step 9: Decorate
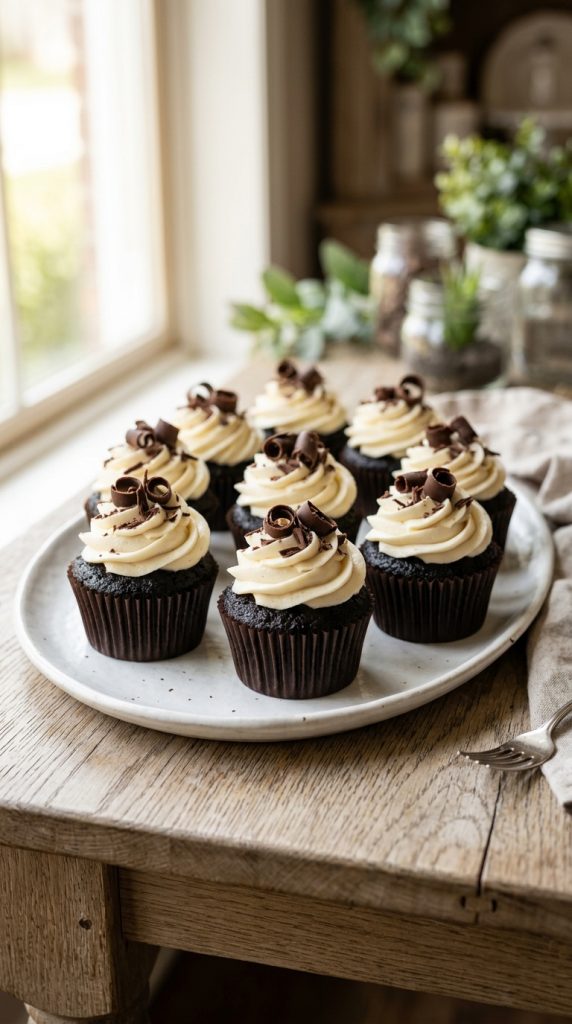
Pipe frosting onto cooled cupcakes.
Add chocolate curls, black sprinkles, or crushed cookies for a professional bakery-style finish.
Health Benefits
While black velvet cupcakes are certainly an indulgent treat, some ingredients offer nutritional value.
Cocoa Powder Benefits
Cocoa powder contains:
- Antioxidants
- Flavonoids
- Magnesium
- Iron
These compounds may help support heart health and reduce oxidative stress.
Eggs
Eggs provide:
- High-quality protein
- Vitamin D
- Choline
- Essential amino acids
Dairy Benefits
Cream cheese and buttermilk contribute:
- Calcium
- Protein
- Vitamin B12
Diet-Friendly Options
Gluten-Free Black Velvet Cupcakes
Use certified gluten-free flour blends for a delicious gluten-free dessert.
Dairy-Free Version
Replace:
- Buttermilk with almond milk and vinegar
- Cream cheese with dairy-free cream cheese
- Butter with plant-based butter
Lower-Sugar Option
Reduce sugar by 20–25% without significantly affecting texture.
Higher-Protein Variation
Add a scoop of chocolate protein powder by replacing part of the flour.
Cooking Tips & Tricks
Use Dutch-Process Cocoa
Dutch-process cocoa creates a smoother flavor and darker appearance.
Don’t Skip the Coffee
Coffee enhances chocolate flavor without making the cupcakes taste like coffee.
Measure Flour Correctly
Spoon flour into measuring cups and level it off.
Too much flour can make cupcakes dry.
Bring Ingredients to Room Temperature
Room-temperature ingredients blend more evenly and produce a better texture.
Avoid Overmixing
Overmixing develops gluten and results in tough cupcakes.
Cool Before Frosting
Warm cupcakes will melt frosting and ruin presentation.
Common Mistakes to Avoid
- Overfilling cupcake liners
- Overbaking
- Using cold cream cheese
- Skipping the cooling process
- Adding too much food coloring
Variations
Vegan Black Velvet Cupcakes
Replace:
- Eggs with flax eggs
- Buttermilk with oat milk and vinegar
- Cream cheese frosting with vegan frosting
The result is a moist vegan black velvet cupcake recipe that tastes fantastic.
Gluten-Free Black Velvet Cupcakes
Use a 1:1 gluten-free baking flour blend.
The cupcakes remain tender and fluffy.
Low-Fat Version
Replace half the oil with unsweetened applesauce.
This reduces calories while maintaining moisture.
Extra Chocolate Black Velvet Cupcakes
Add:
- Mini chocolate chips
- Chocolate chunks
- Chocolate ganache filling
Perfect for serious chocolate lovers.
Mocha Black Velvet Cupcakes
Add:
- 1 teaspoon espresso powder
- Chocolate espresso frosting
A delicious coffeehouse-inspired twist.
Spiced Black Velvet Cupcakes
Mix in:
- Cinnamon
- Nutmeg
- Clove
Ideal for fall gatherings and holiday baking.
Pairings / Serving Ideas
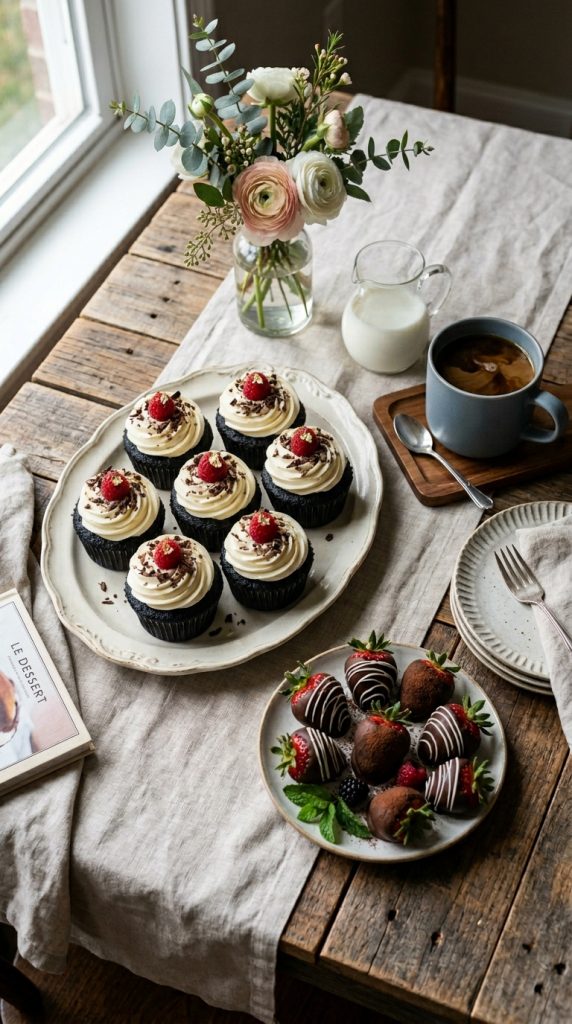
Black velvet cupcakes pair beautifully with a variety of beverages and desserts.
Drinks
- Fresh coffee
- Espresso
- Hot chocolate
- Cold milk
- Vanilla latte
Dessert Pairings
- Chocolate mousse
- Vanilla bean ice cream
- Cheesecake
- Chocolate-covered strawberries
Party Presentation
Arrange cupcakes on a tiered dessert stand with:
- Black decorations
- Gold accents
- Dark chocolate garnishes
Storage Tips
Store frosted cupcakes:
- In the refrigerator for up to 5 days
- In an airtight container
Freezing Instructions
Freeze unfrosted cupcakes for up to 3 months.
Thaw overnight in the refrigerator before decorating.
Meal Prep Tip
Bake cupcakes a day ahead and frost before serving.
This saves time during parties and celebrations.
Frequently Asked Questions
What makes black velvet cupcakes different from chocolate cupcakes?
Black velvet cupcakes have a softer, finer crumb thanks to buttermilk and a carefully balanced batter. They also feature a distinctive dark appearance and richer flavor.
Can I make black velvet cupcakes without food coloring?
Yes. The cupcakes will still taste delicious but may appear dark brown rather than black.
How do I keep black velvet cupcakes moist?
Use buttermilk, avoid overbaking, and store cupcakes in an airtight container.
Can I make black velvet cupcakes ahead of time?
Absolutely. Bake them one or two days in advance and frost before serving.
What frosting goes best with black velvet cupcakes?
Cream cheese frosting is the most popular choice because its slight tang balances the rich chocolate flavor beautifully.
Conclusion
These Black Velvet Cupcakes are everything a great dessert should be—rich, moist, visually stunning, and incredibly satisfying. Their deep chocolate flavor, velvety texture, and creamy frosting make them a standout treat for holidays, birthdays, themed parties, or simply a weekend baking project.
Whether you stick to the classic recipe or experiment with vegan, gluten-free, or extra-chocolate variations, you’ll end up with a bakery-worthy dessert that’s guaranteed to impress. The simple ingredients, straightforward method, and customizable options make this recipe accessible for bakers of all skill levels.
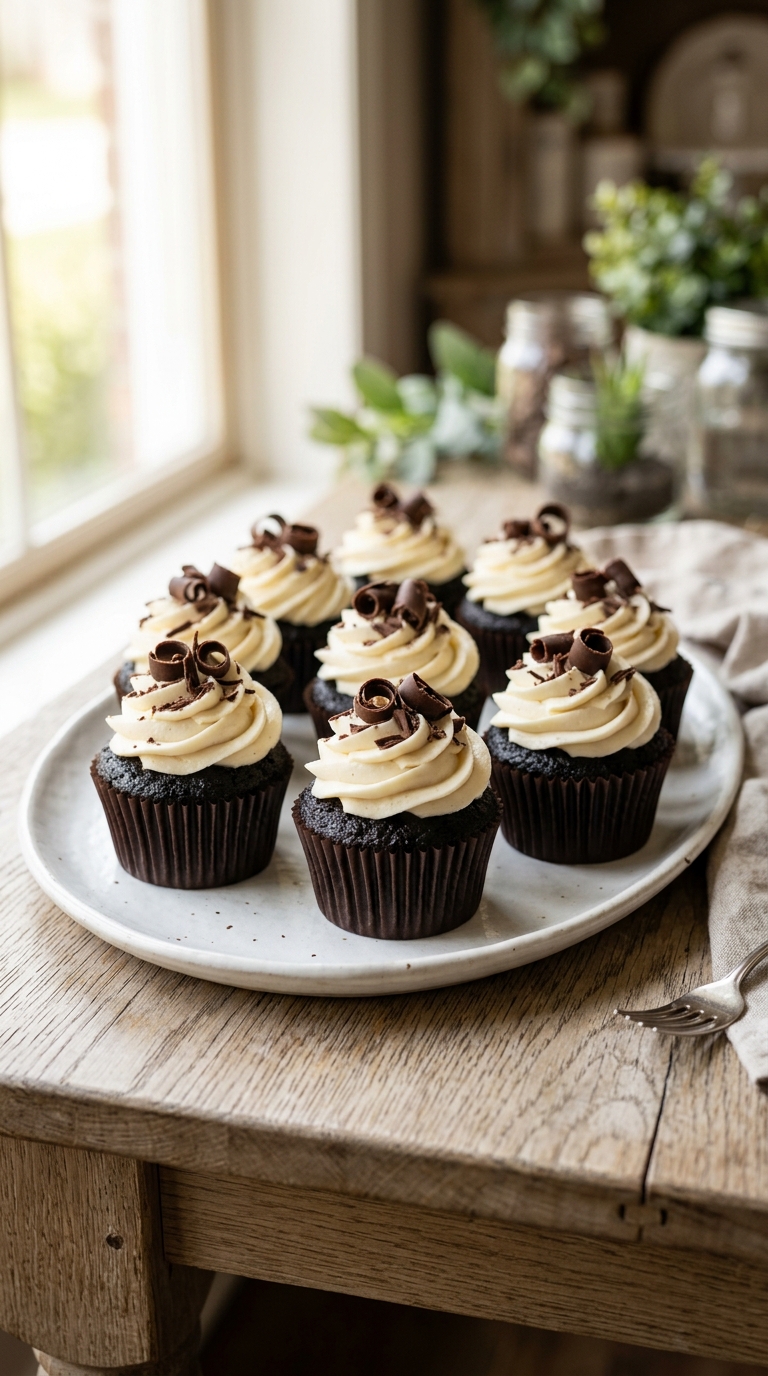
Black Velvet Cupcakes
Ingredients
Equipment
Method
- Step 1: Prepare the Oven
- Preheat your oven to 350°F (175°C). Line a 12-cup muffin tin with cupcake liners.
- Step 2: Mix the Dry Ingredients
- In a medium bowl, whisk together:
- Flour
- Cocoa powder
- Baking soda
- Baking powder
- Salt
- Set aside.
- Step 3: Combine the Wet Ingredients
- In a large mixing bowl, whisk together:
- Granulated sugar
- Brown sugar
- Eggs
- Vegetable oil
- Buttermilk
- Vanilla extract
- Black food coloring
- Mix until smooth and evenly colored.
- Step 4: Create the Batter
- Gradually add the dry ingredients to the wet mixture.
- Mix until just combined. Avoid overmixing, which can make cupcakes dense.
- Slowly pour in the hot coffee while stirring. The batter will appear thin, but that’s normal and helps create moist black velvet cupcakes.
- Step 5: Fill the Cupcake Liners
- Fill each cupcake liner about two-thirds full.
- This allows room for the cupcakes to rise evenly without overflowing.
- Step 6: Bake
- Bake for 18–22 minutes or until a toothpick inserted into the center comes out with only a few moist crumbs.
- Avoid overbaking to maintain a soft velvet texture.
- Step 7: Cool Completely
- Allow cupcakes to cool in the pan for 5 minutes.
- Transfer them to a wire rack and cool completely before frosting.
- Step 8: Prepare the Frosting
- Beat cream cheese and butter together until smooth and fluffy.
- Gradually add powdered sugar, one cup at a time.
- Mix in vanilla extract and salt.
- Continue beating until light and creamy.
- Step 9: Decorate
- Pipe frosting onto cooled cupcakes.
- Add chocolate curls, black sprinkles, or crushed cookies for a professional bakery-style finish.