Cream Cheese Mints Recipe – Easy, Soft & Delicious
These vintage-style confections are a staple at weddings, baby showers, and holiday gatherings for a reason. They offer a delicate, melt-in-your-mouth texture that is both creamy and refreshing, providing a sophisticated alternative to standard hard candies. By combining a few simple pantry staples with a touch of peppermint oil, you can create elegant, bite-sized treats that look professional and taste indulgent. Preparing cream cheese mints is a rewarding process that transforms basic ingredients into beautiful, molded sweets that disappear quickly from any dessert table.
Whether you are looking to match a specific event color scheme or simply enjoy a classic nostalgic treat, these candies are surprisingly easy to master. The dough-like consistency is highly malleable, allowing you to use decorative candy molds or simply roll them into small, uniform spheres. Because they require no actual baking, they are a perfect project for when you want a homemade confection without turning on the oven.
- Prep time: 15 minutes
- Cook time: 0 minutes
- Total time: 15 minutes (plus drying time)
- Servings: 40 pieces
- Calories: 45 per serving
Why You’ll Love This Recipe
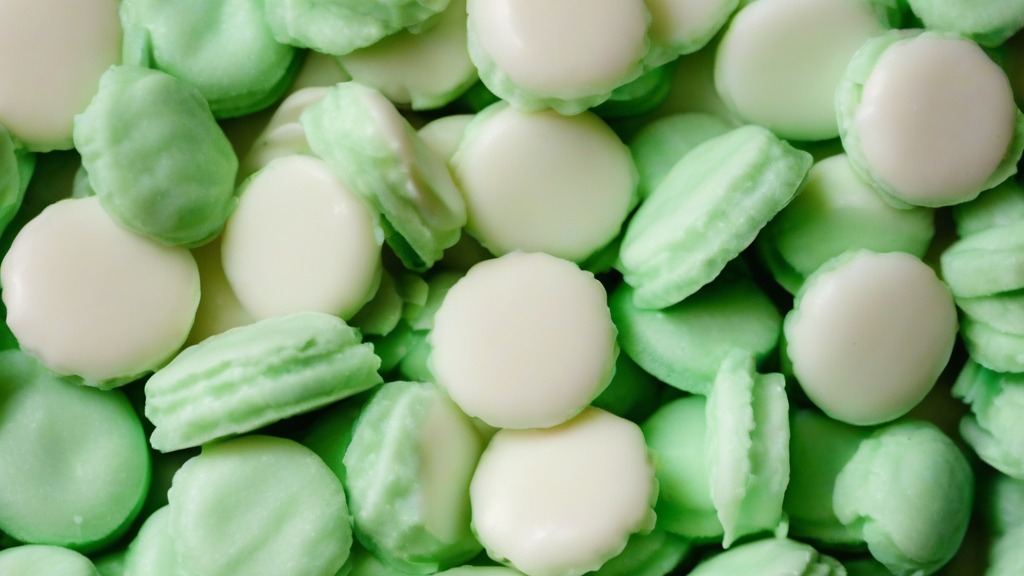
- The texture is uniquely smooth, offering a soft, buttery bite that stands out from typical sugary candies.
- You only need four basic ingredients to achieve authentic results.
- They are highly customizable; you can easily adjust the color and flavor to suit any theme.
- The preparation process is straightforward and fun, making it an ideal activity for involving children or guests.
- These confections hold their shape perfectly at room temperature, making them excellent for serving on platters.
Ingredients
- 4 ounces full-fat cream cheese, softened to room temperature
- 3 cups powdered sugar, sifted
- 1/4 teaspoon high-quality peppermint extract
- 2 to 3 drops liquid food coloring of your choice
- 2 tablespoons extra granulated sugar for dusting
Equipment Needed
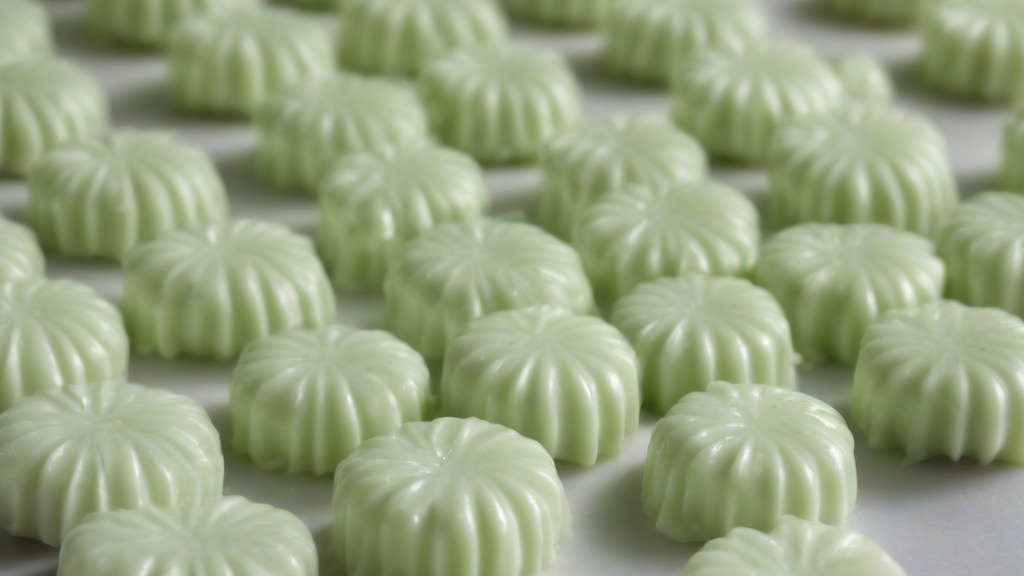
- Large mixing bowl
- Electric hand mixer or sturdy wooden spoon
- Silicone candy molds or a small scoop
- Measuring cups and spoons
- Rubber spatula
- Baking sheet lined with parchment paper
How To Make
- Place the softened cream cheese into a large mixing bowl and beat with an electric mixer on medium speed until it is completely smooth and free of lumps.
- Add the peppermint extract and your chosen food coloring to the cream cheese, mixing until the color is uniform throughout.
- Gradually add the sifted powdered sugar one cup at a time, mixing on low speed until a stiff, dough-like consistency forms. If the mixture is too sticky to handle, add an additional tablespoon of powdered sugar.
- Lightly coat your candy molds with granulated sugar to prevent sticking, or dust your hands with sugar if rolling by hand.
- Press small portions of the dough firmly into the molds, ensuring you fill every crevice for a sharp, clear impression.
- Carefully pop the molded pieces out of the tray and place them onto a parchment-lined baking sheet.
- Allow the candies to air dry at room temperature for at least 2 to 4 hours, or until they develop a firm, slightly crusty exterior.
Expert Cooking Tips
- Always use full-fat block cream cheese rather than the spreadable variety found in tubs, as the water content in tub varieties will make the dough too soft.
- If you find the dough is too soft to hold a shape, place it in the refrigerator for 20 minutes before molding.
- For a more intense flavor, you can swap peppermint extract for almond or vanilla extract, though peppermint remains the traditional choice.
- Store your finished candies in an airtight container in the refrigerator to maintain their firm texture; they will stay fresh for up to two weeks.
- If you are making these for a large event, you can freeze them for up to one month, but be sure to separate layers with wax paper to prevent sticking.
Frequently Asked Questions
Can I use a different flavor instead of peppermint?
Yes, you can substitute the peppermint extract with other food-grade flavorings like lemon, almond, or wintergreen. Start with a small amount, as some extracts are much more potent than others.
Why is my dough sticking to the mold?
This usually happens if the cream cheese was too warm or if the sugar content is too low. Ensure you are dusting your molds or your hands with granulated sugar before every single press to create a non-stick barrier.
How long do these take to dry completely?
While they are ready to eat almost immediately, they need about 2 to 4 hours of air exposure to form a protective outer shell. This prevents them from sticking to each other when stored.
Can I make these without a mold?
Absolutely. If you don’t have a mold, simply roll the dough into small balls about the size of a marble and flatten them slightly with the back of a fork to create a decorative pattern.
Conclusion
Creating these elegant sweets is a simple way to add a professional touch to your dessert repertoire. By focusing on the quality of your ingredients and ensuring the dough reaches the right consistency before molding, you will achieve the perfect balance of creamy texture and refreshing flavor. These confections are versatile enough to serve at formal parties or casual family gatherings, providing a delightful end to any meal.
Feel free to experiment with different pastel shades or seasonal shapes to see what works best for your specific needs. Once you have mastered the basic technique, you will find that these cream cheese mints become a requested favorite among friends and family. I would love to hear how your batches turned out or which flavor combinations you decided to try in your kitchen.
Cream Cheese Mints Recipe
Ingredients
Equipment
Method
- Place the softened cream cheese into a large mixing bowl and beat with an electric mixer on medium speed until it is completely smooth and free of lumps.
- Add the peppermint extract and your chosen food coloring to the cream cheese, mixing until the color is uniform throughout.
- Gradually add the sifted powdered sugar one cup at a time, mixing on low speed until a stiff, dough-like consistency forms. If the mixture is too sticky to handle, add an additional tablespoon of powdered sugar.
- Lightly coat your candy molds with granulated sugar to prevent sticking, or dust your hands with sugar if rolling by hand.
- Press small portions of the dough firmly into the molds, ensuring you fill every crevice for a sharp, clear impression.
- Carefully pop the molded pieces out of the tray and place them onto a parchment-lined baking sheet.
- Allow the candies to air dry at room temperature for at least 2 to 4 hours, or until they develop a firm, slightly crusty exterior.