Easy Sourdough Starter Recipe (From Scratch in 7 Days)
There’s something quietly magical about making a sourdough starter from scratch. With nothing more than flour, water, and a week of patience, you capture wild yeast and friendly bacteria from the air around you and turn them into a living culture that will bake you loaf after glorious loaf of bread. No packets of commercial yeast, no special equipment — just a jar and a spoon. This easy sourdough starter recipe gives you a day-by-day feeding schedule that works for total beginners, plus the exact signs to look for so you know when your starter is ready to bake with.
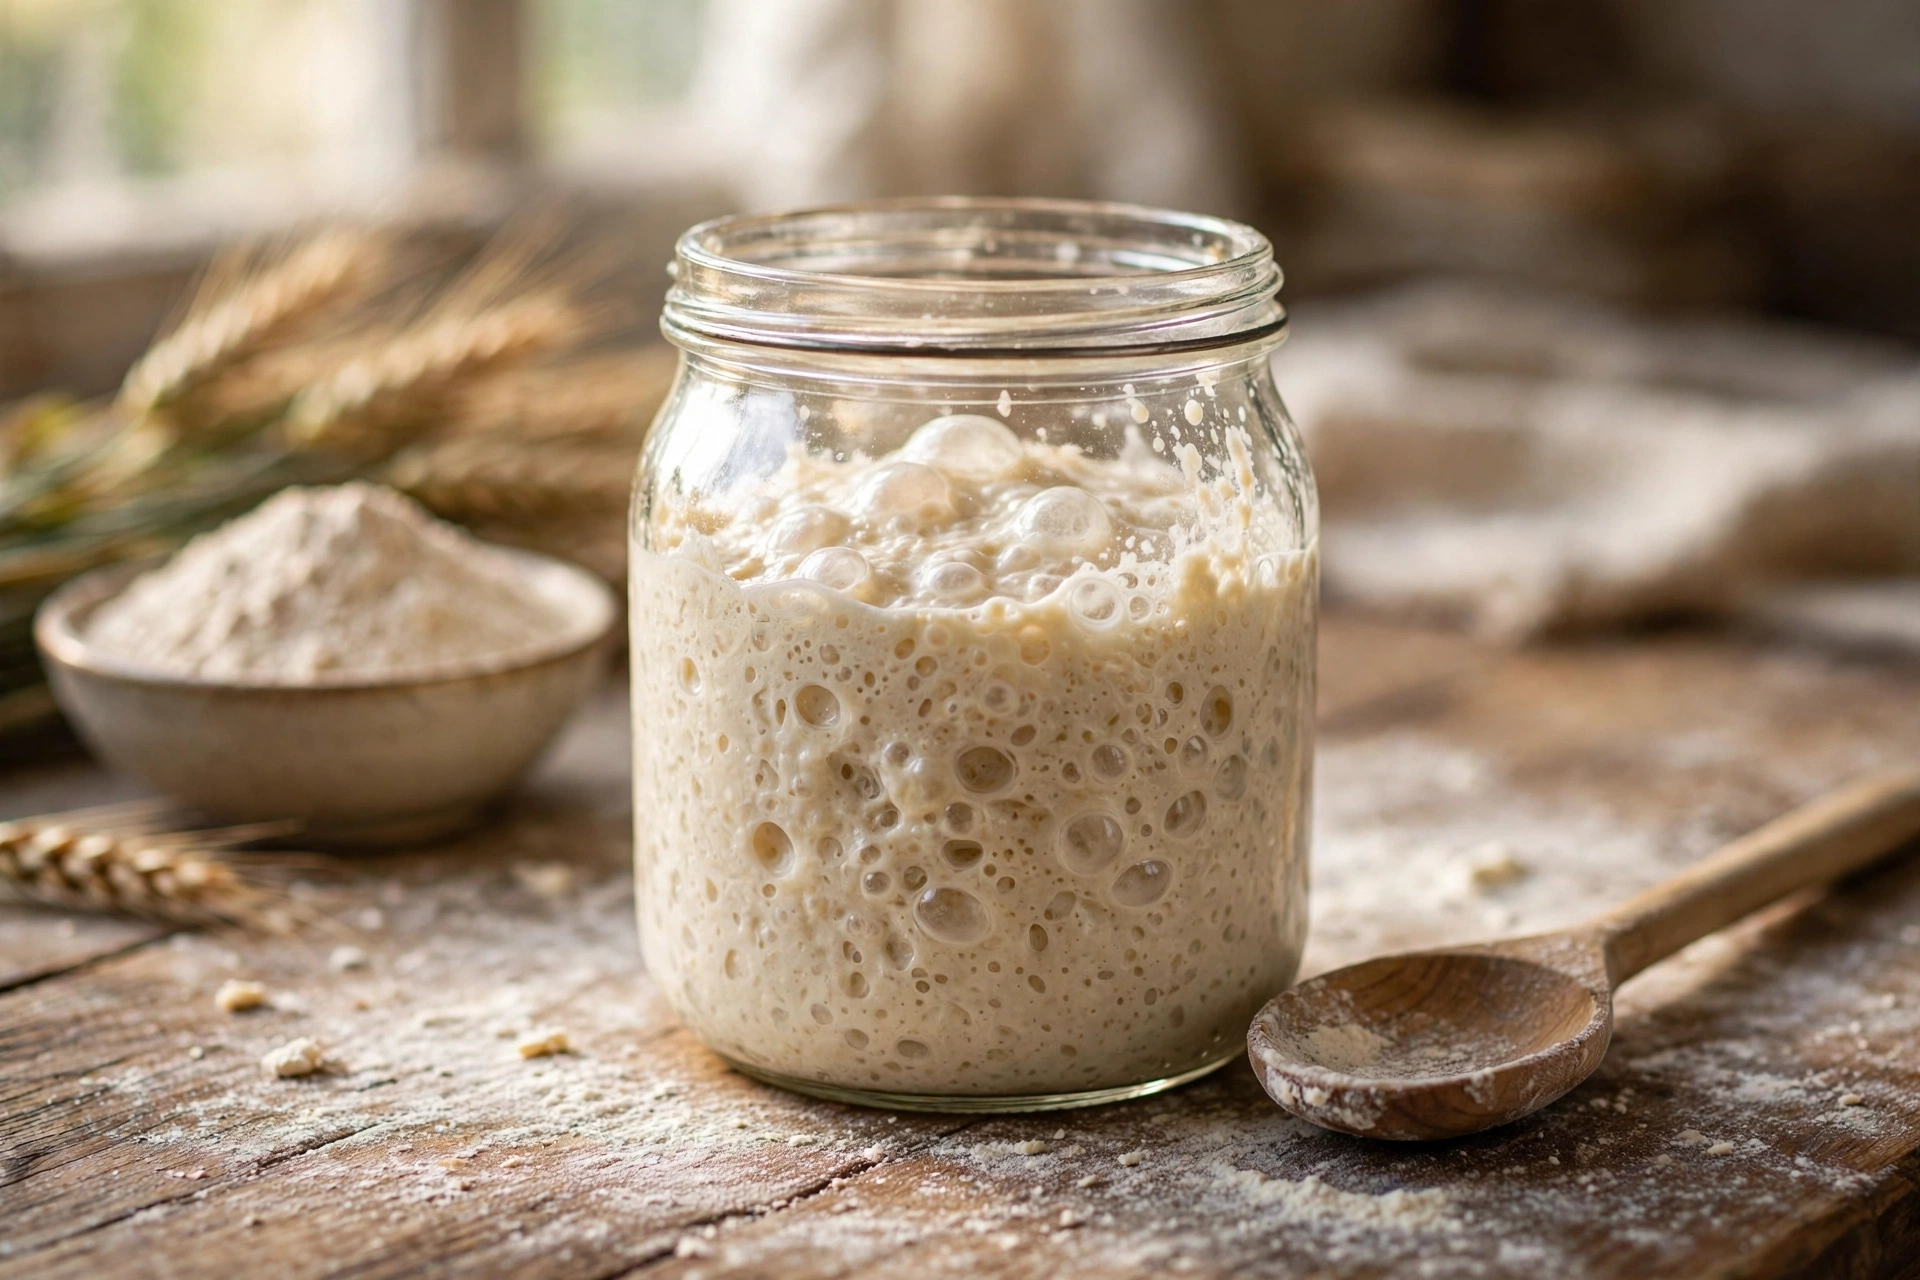
What Is a Sourdough Starter?
A sourdough starter is a fermented culture of flour and water that teems with wild yeast and lactic acid bacteria. The yeast produces carbon dioxide, which makes your bread rise, while the bacteria create lactic and acetic acids — the source of sourdough’s signature tangy flavor. Because the fermentation is slow and natural, sourdough bread develops a deeper, more complex flavor than anything made with store-bought yeast. Once your starter is mature, a single jar can live for years (decades, even) with nothing more than regular feedings.
Why Make Your Own Starter Instead of Buying One?
You can buy dried starters online, and there’s nothing wrong with that. But making your own teaches you to read your starter’s behavior — the bubbles, the rise, the smell — which is exactly the skill that makes you a better sourdough baker later. It’s also free, takes about five minutes of hands-on time per day, and the sense of accomplishment when your jar doubles in size for the first time is genuinely thrilling.
What You’ll Need
Equipment: a clean glass jar (at least 16 oz / 500 ml), a rubber band or marker to mark the starter’s level, a spoon or small spatula, a kitchen scale (highly recommended), and a loose-fitting lid or clean cloth.
Ingredients: whole wheat flour or rye flour (for the first few days), unbleached all-purpose flour (for ongoing feedings), and filtered or dechlorinated lukewarm water (around 75–85°F / 24–29°C).
The 7-Day Sourdough Starter Schedule
Day 1 — Mix. In your jar, combine 60 g (½ cup) whole wheat flour with 60 g (¼ cup) lukewarm water. Stir until no dry flour remains. Scrape down the sides, cover loosely, and leave at room temperature (70–75°F / 21–24°C) for 24 hours.
Day 2 — Wait and stir. You may see nothing at all today, and that’s completely normal. Just give the mixture a good stir once or twice to add oxygen, cover it back up, and walk away.
Day 3 — First feeding. Look for a few small bubbles or a slightly tangy smell. Discard half of the mixture (about 60 g), add 60 g all-purpose flour and 60 g water, stir well, cover, and rest 24 hours.
Days 4–6 — Daily feedings. Repeat the Day 3 routine once every 24 hours: discard half, feed with 60 g flour + 60 g water, stir, and rest. By Day 4 or 5 you should see real activity — bubbles throughout and a starter that rises and falls predictably.
Day 7 — Ready to bake? Your starter is ready when it reliably doubles in size within 4–6 hours of feeding. Mark the level with a rubber band right after feeding and check back in a few hours.
The Float Test (and Other Readiness Signs)
Drop a small spoonful of starter into a glass of water. If it floats, it’s full of gas and ready to leaven bread. If it sinks, keep feeding for a few more days. Also look for consistent doubling after feedings, a domed top with bubbles breaking through, and a pleasantly sour (not chemical) aroma.
Troubleshooting: What’s Normal and What’s Not
Dark liquid on top (“hooch”) — your starter is hungry; stir it back in (or pour it off) and feed on schedule. No bubbles after 3 days — try one feeding with whole wheat or rye flour and move the jar to a warmer spot (72–76°F). Sharp, nail-polish-remover smell — underfed; feed twice daily for 2–3 days. Pink or orange streaks or fuzzy mold — contamination; discard everything, sterilize the jar, and start over. Rises then collapses before baking — you missed peak activity; feed and use it right when it doubles.
Maintaining Your Starter
Baking weekly? Keep it on the counter and feed once a day (discard half, feed equal parts flour and water). Baking occasionally? Refrigerate and feed once a week; before baking, pull it out 24 hours ahead and give it 1–2 room-temperature feedings.
Don’t Throw Away the Discard
Every feeding’s discard is perfectly good fermented flour — use it in pancakes, waffles, crackers, pizza dough, or banana bread for subtle tang and less waste.
Frequently Asked Questions
Can I use tap water?
If heavily chlorinated, let it sit uncovered overnight or use filtered water — chlorine can stall fermentation.
Does it matter if I miss a feeding?
One missed feeding won’t kill it. Feed as soon as you remember; after a week unfed on the counter, give 2–3 feedings before baking.
How long until I can bake bread?
Most starters are ready in 5–10 days. Trust the doubling test and the float test, not the calendar.
Can I use all whole wheat flour?
You can, but it ferments fast and can turn acidic quickly — most bakers switch to all-purpose after the first few days for a milder, more predictable starter.
Troubleshooting Your Starter
Starter Not Rising
If your starter is sluggish, the usual culprits are a cold kitchen, weak flour or missed feedings. Move it to a warm spot (around 24–26°C / 75–78°F is ideal), feed it with unbleached all-purpose or whole wheat flour, and keep a consistent twice-daily schedule for a few days. Most starters perk up quickly once warmth and regular meals return.
Hooch on Top
A layer of dark liquid on top — called hooch — simply means your starter is hungry. It is not harmful. Pour it off (or stir it in for a tangier flavor), then feed as usual. If hooch appears often, feed more frequently or keep a smaller amount of starter between feedings.
Smells Too Sour or Like Acetone
A strong nail-polish or vinegar smell is another hunger sign, common in warm kitchens. A few regular feedings at room temperature will bring the balance back. Switching one feeding to a slightly thicker consistency can also help.
How to Store and Maintain Your Starter
Counter vs Fridge
If you bake several times a week, keep the starter on the counter with daily feedings. If you bake once a week or less, store it in the fridge and feed it once a week; take it out the day before baking and give it two feedings at room temperature to wake it up fully.
Taking a Break
Going on vacation? Feed the starter, let it sit at room temperature for about an hour, then refrigerate it in a clean, loosely covered jar. A healthy starter can rest in the fridge for two to three weeks; on your return, pour off any hooch and resume normal feedings — it may need two or three feeds before it is bubbling at full strength again.
How do I know my starter is ready to bake with?
It should reliably double (or more) within 4–8 hours of a feeding, be full of bubbles, and smell pleasantly tangy rather than harsh. The float test — dropping a spoonful into water to see if it floats — is a useful extra check.
Can I use the discard?
Yes — sourdough discard is great in pancakes, waffles, crackers, flatbreads and banana bread. Just remember it has leavening power but a milder flavor than active starter, so use recipes written for discard.
Related:
Classic Bruschetta Recipe (Fresh Tomato, Basil & Garlic)
Classic Moscow Mule Recipe (The Perfect Ratio)
Easy Sourdough Bread Recipe (Crusty Outside, Chewy Inside)
Easy Sourdough Starter From Scratch
Ingredients
Method
- Day 1 — Mix 60 g whole wheat flour and 60 g lukewarm water in a clean glass jar until no dry flour remains. Cover loosely and rest at room temperature (70–75°F) for 24 hours.
- Day 2 — Stir the mixture once or twice to add oxygen. No feeding today. Cover and rest 24 hours.
- Day 3 — Discard half of the starter (about 60 g). Feed with 60 g all-purpose flour and 60 g lukewarm water. Stir well, cover, and rest 24 hours.
- Days 4–6 — Repeat the Day 3 routine once daily: discard half, feed 60 g flour + 60 g water, stir, and rest at room temperature.
- Day 7 — Check for readiness: the starter should double in size within 4–6 hours of feeding and pass the float test. If it floats in water, it is ready to bake with.