Pierogi Dough Recipe – Easy Authentic No-Fail Homemade
Pierogi are one of the most beloved comfort foods in Eastern European cuisine. These soft dumplings are filled with everything from creamy potatoes and cheese to sweet fruits. But the secret to truly delicious pierogi isn’t just the filling—it’s the perfect pierogi dough recipe.
If you’ve ever wondered how to make pierogi dough from scratch, you’ll be happy to know that it’s surprisingly simple. With just a handful of pantry staples, you can create a dough that is soft, flexible, and easy to roll—ideal for forming delicate dumplings that cook up tender and flavorful.
In this guide, you’ll learn the best pierogi dough recipe for beginners, including step-by-step instructions, expert tips, and common mistakes to avoid. Whether you’re preparing traditional potato pierogi, sweet fruit pierogi, or planning a meal prep batch, this foolproof dough recipe will give you authentic results every time.
What Is Pierogi Dough?
Pierogi dough is a simple dumpling dough traditionally made with flour, eggs, water, and sometimes sour cream or butter. Unlike pasta dough, pierogi dough is softer and more elastic, which helps it seal easily around fillings without tearing during boiling.
The goal of a good pierogi dough is to create dumplings that are:
- Soft but sturdy
- Easy to roll thin
- Tender after boiling
- Flexible enough to seal around fillings
When made correctly, the dough produces pillowy dumplings with delicate texture and rich flavor.
Why You’ll Love This Pierogi Dough Recipe
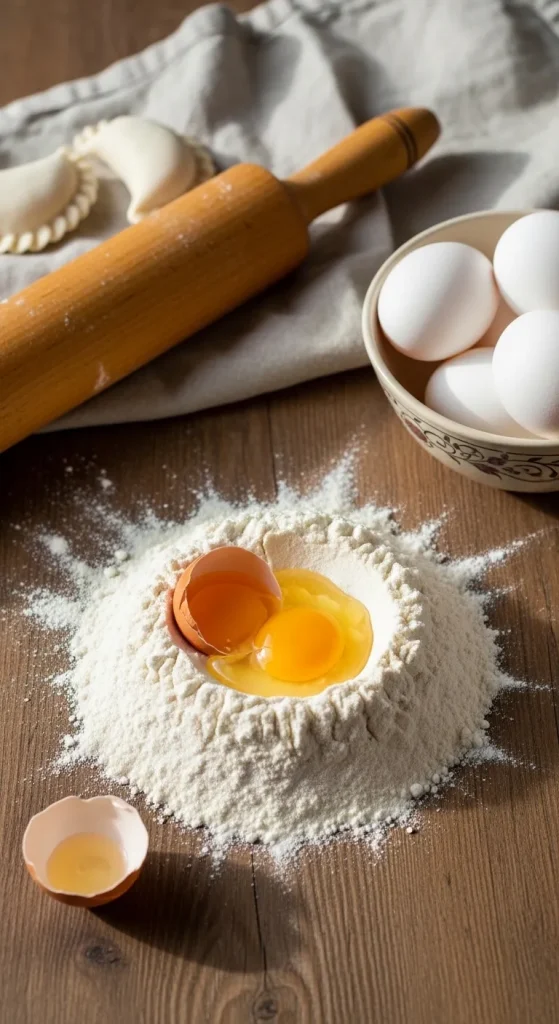
There are many variations of dumpling dough, but this version stands out for its balance of texture and simplicity.
Reasons this recipe works perfectly:
- Beginner-friendly method
- Only a few basic ingredients
- Soft and elastic dough texture
- Easy to roll thin without tearing
- Works with savory or sweet fillings
- Great for freezing and meal prep
It’s a foolproof homemade pierogi dough that produces authentic dumplings every time.
Ingredients (Exact Measurements)
Below are the precise measurements for this classic pierogi dough recipe.
Ingredients
- 2 cups all-purpose flour (250 g)
- 1 large egg
- ½ cup warm water (120 ml)
- 1 tablespoon vegetable oil or melted butter
- ½ teaspoon salt
- Optional: 2 tablespoons sour cream for extra softness
Ingredient Notes
Understanding each ingredient helps create the best texture.
Flour
All-purpose flour provides the right balance of structure and tenderness.
Egg
Egg improves elasticity and richness in the dough.
Warm Water
Hydrates the flour and helps develop gluten, making the dough flexible.
Oil or Butter
Adds softness and prevents the dough from becoming tough.
Salt
Enhances flavor and strengthens the dough structure.
Sour Cream (Optional)
Traditional in many Polish recipes, sour cream makes the dough softer and slightly richer.
Equipment Needed
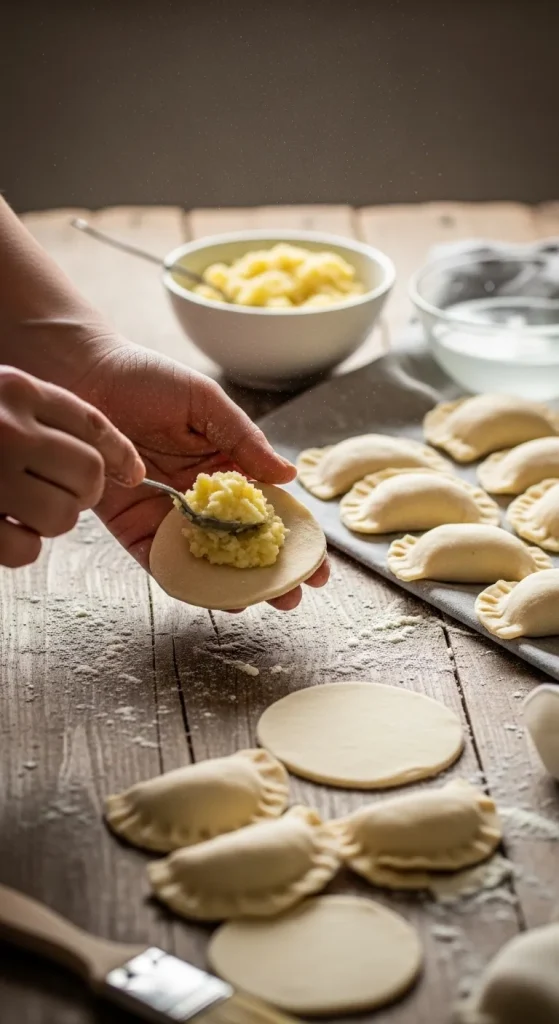
You don’t need special tools to make homemade pierogi dough.
Helpful kitchen tools include:
- Large mixing bowl
- Rolling pin
- Measuring cups and spoons
- Dough cutter or round glass
- Clean work surface
- Fork for sealing edges
- Large pot for boiling
Optional but helpful:
- Kitchen scale
- Pastry brush
- Silicone mat
How to Make Pierogi Dough Recipe
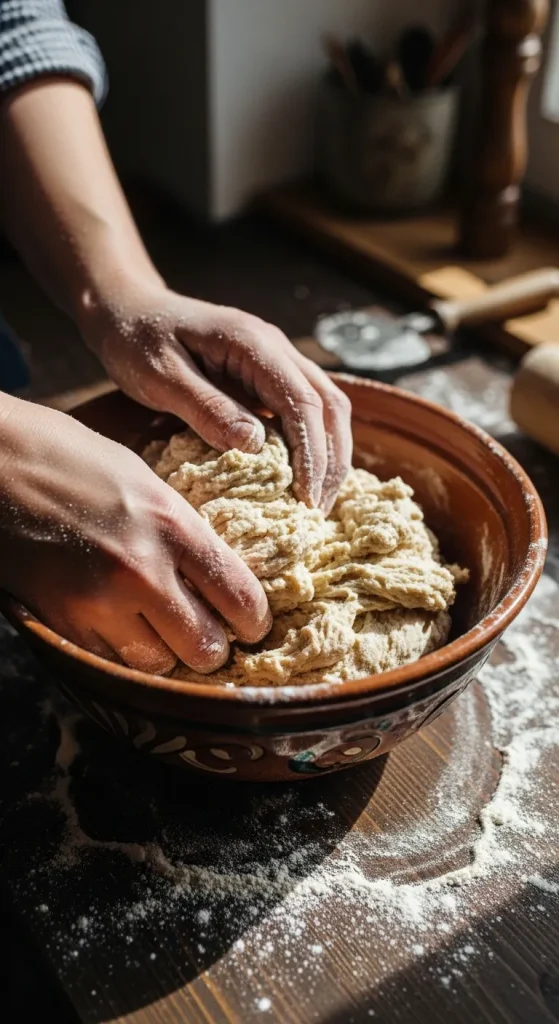
To make pierogi dough, mix flour, egg, warm water, oil, and salt into a soft dough. Knead for 5–7 minutes until smooth and elastic. Let it rest for 20–30 minutes, then roll thin and cut circles for filling. The rested dough becomes flexible and easy to seal around fillings.
Step-by-Step Instructions
Step 1: Mix the Dry Ingredients
In a large bowl:
- Add flour and salt
- Stir to distribute evenly
This ensures balanced flavor and texture throughout the dough.
Step 2: Add Wet Ingredients
Create a small well in the flour and add:
- Egg
- Warm water
- Oil or melted butter
Mix gently using a fork or your hands until a shaggy dough forms.
Step 3: Knead the Dough
Transfer the dough onto a lightly floured surface.
Knead for 5–7 minutes until:
- Smooth
- Soft
- Slightly elastic
Proper kneading develops gluten, which gives pierogi dough flexibility.
Step 4: Let the Dough Rest
Cover the dough with:
- Plastic wrap
or - A clean kitchen towel
Let it rest for 20–30 minutes.
Resting relaxes the gluten and makes rolling much easier.
Step 5: Roll the Dough
Roll the dough on a lightly floured surface until it is about:
1/8 inch thick (3 mm).
Thin dough produces delicate pierogi with a perfect filling-to-dough ratio.
Step 6: Cut Dough Circles
Use:
- A round cutter
or - A drinking glass
Cut 3–4 inch circles.
Place filling in the center of each circle.
Step 7: Seal the Pierogi
Fold the dough over the filling to create a half-moon shape.
Press edges firmly and crimp with a fork for a tight seal.
Step 8: Cook the Pierogi
Bring a pot of salted water to a boil.
Cook pierogi for 3–4 minutes, or until they float to the surface.
Optional: sauté in butter afterward for crispy edges.
Pro Tips for Perfect Pierogi Dough
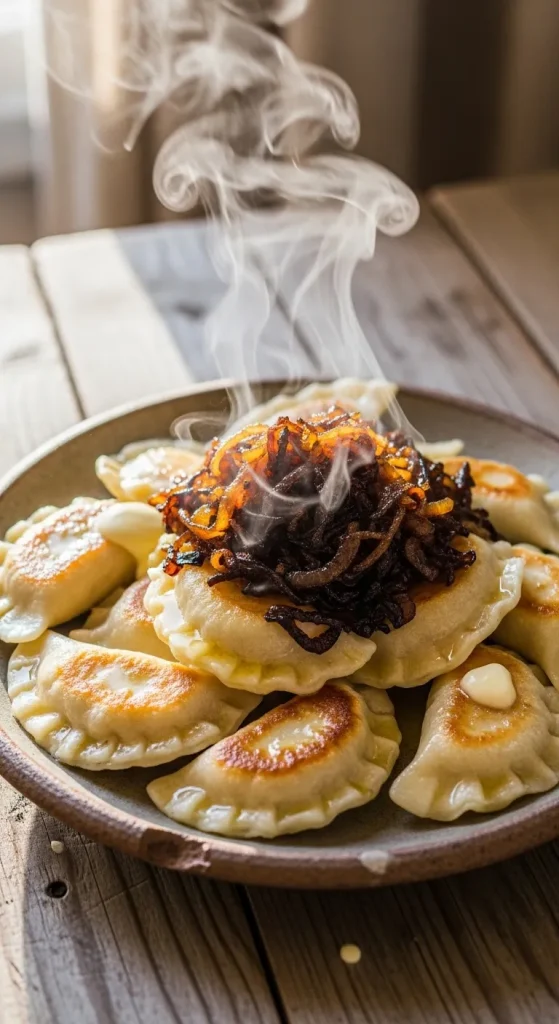
Professional cooks use these tips to achieve ideal dumpling texture.
Key tips:
- Rest the dough for at least 20 minutes
- Keep dough covered to prevent drying
- Roll dough evenly for consistent cooking
- Avoid over-flouring the surface
- Seal edges tightly to prevent leaks
- Work in small batches
These simple techniques produce soft, tender dumplings with perfectly sealed edges.
Common Mistakes to Avoid
Even simple recipes can go wrong if certain steps are skipped.
Over-kneading the Dough
Too much kneading makes dough tough.
Skipping the Rest Time
Resting relaxes gluten and improves elasticity.
Rolling Dough Too Thick
Thick dough leads to heavy dumplings.
Using Too Much Flour
Excess flour makes the dough dry.
Overfilling Pierogi
Too much filling makes sealing difficult.
Substitutions & Variations
This pierogi dough recipe can easily be adapted.
Vegan Pierogi Dough
Replace egg with:
- 2 tablespoons olive oil
- Slightly more warm water
Dairy-Free Version
Skip sour cream and use water or plant milk.
Whole Wheat Dough
Replace half the flour with whole wheat flour for added fiber.
Gluten-Free Option
Use gluten-free flour blend designed for baking.
Meal Prep Dough
You can prepare dough ahead and refrigerate for 24 hours before rolling.
Storage Instructions
Proper storage helps maintain dough quality.
Refrigerator
- Wrap dough tightly in plastic wrap
- Store up to 24 hours
Freezer
- Freeze pierogi after filling
- Store in freezer bags for 2–3 months
Reheating Instructions
Cooked pierogi reheat well.
Best reheating methods:
Pan Fry
- Heat butter in skillet
- Cook pierogi until golden
Microwave
- Heat for 1–2 minutes with damp paper towel
Boiling
- Reheat for 1 minute in boiling water
Serving Suggestions
Pierogi are extremely versatile.
Serve them with:
- Caramelized onions
- Sour cream
- Crispy bacon bits
- Fresh herbs
- Melted butter
- Sauteed mushrooms
For sweet pierogi fillings, try:
- Powdered sugar
- Honey drizzle
- Vanilla yogurt
Nutritional Overview (Approximate)
Per serving (plain dough only):
- Calories: ~150
- Carbohydrates: 28 g
- Protein: 4 g
- Fat: 2 g
- Fiber: 1 g
Values vary depending on filling and cooking method.
FAQs About Pierogi Dough Recipe
How to make pierogi dough recipe at home?
Mix flour, egg, water, oil, and salt into a soft dough. Knead until smooth, let it rest for 20–30 minutes, then roll thin and cut circles for filling before boiling.
What makes pierogi dough soft?
Proper hydration, resting time, and adding fat such as butter or oil help keep the dough soft and tender.
Can you make pierogi dough without eggs?
Yes. Many traditional recipes omit eggs and rely on flour, water, oil, and salt to create a soft dumpling dough.
Why is my pierogi dough tough?
The dough may be over-kneaded, too dry, or not rested long enough before rolling.
How thin should pierogi dough be?
Ideally about 1/8 inch (3 mm) thick. Thin dough ensures tender dumplings.
Can you freeze pierogi dough?
Yes. Wrap tightly in plastic wrap and freeze for up to 2 months. Thaw in the refrigerator before using.
Conclusion
Making dumplings from scratch might seem intimidating, but once you try this pierogi dough recipe, you’ll see how simple and rewarding it is. With just a few basic ingredients and the right technique, you can create soft, elastic dough perfect for traditional pierogi.
Whether you’re making potato-and-cheese pierogi, sweet fruit dumplings, or experimenting with creative fillings, mastering this homemade pierogi dough recipe opens the door to countless comforting meals. After a little practice, you’ll be rolling, filling, and sealing perfect pierogi like a pro.

Pierogi Dough
Ingredients
Equipment
Method
- Step 1: Mix the Dry Ingredients
- In a large bowl:
- Add flour and salt
- Stir to distribute evenly
- This ensures balanced flavor and texture throughout the dough.
- Step 2: Add Wet Ingredients
- Create a small well in the flour and add:
- Egg
- Warm water
- Oil or melted butter
- Mix gently using a fork or your hands until a shaggy dough forms.
- Step 3: Knead the Dough
- Transfer the dough onto a lightly floured surface.
- Knead for 5–7 minutes until:
- Smooth
- Soft
- Slightly elastic
- Proper kneading develops gluten, which gives pierogi dough flexibility.
- Step 4: Let the Dough Rest
- Cover the dough with:
- Plastic wrap
- or
- A clean kitchen towel
- Let it rest for 20–30 minutes.
- Resting relaxes the gluten and makes rolling much easier.
- Step 5: Roll the Dough
- Roll the dough on a lightly floured surface until it is about:
- 1/8 inch thick (3 mm).
- Thin dough produces delicate pierogi with a perfect filling-to-dough ratio.
- Step 6: Cut Dough Circles
- Use:
- A round cutter
- or
- A drinking glass
- Cut 3–4 inch circles.
- Place filling in the center of each circle.
- Step 7: Seal the Pierogi
- Fold the dough over the filling to create a half-moon shape.
- Press edges firmly and crimp with a fork for a tight seal.
- Step 8: Cook the Pierogi
- Bring a pot of salted water to a boil.
- Cook pierogi for 3–4 minutes, or until they float to the surface.
- Optional: sauté in butter afterward for crispy edges