Easy Sourdough Bread Recipe (Crusty Outside, Chewy Inside)
CATEGORY: BREADS
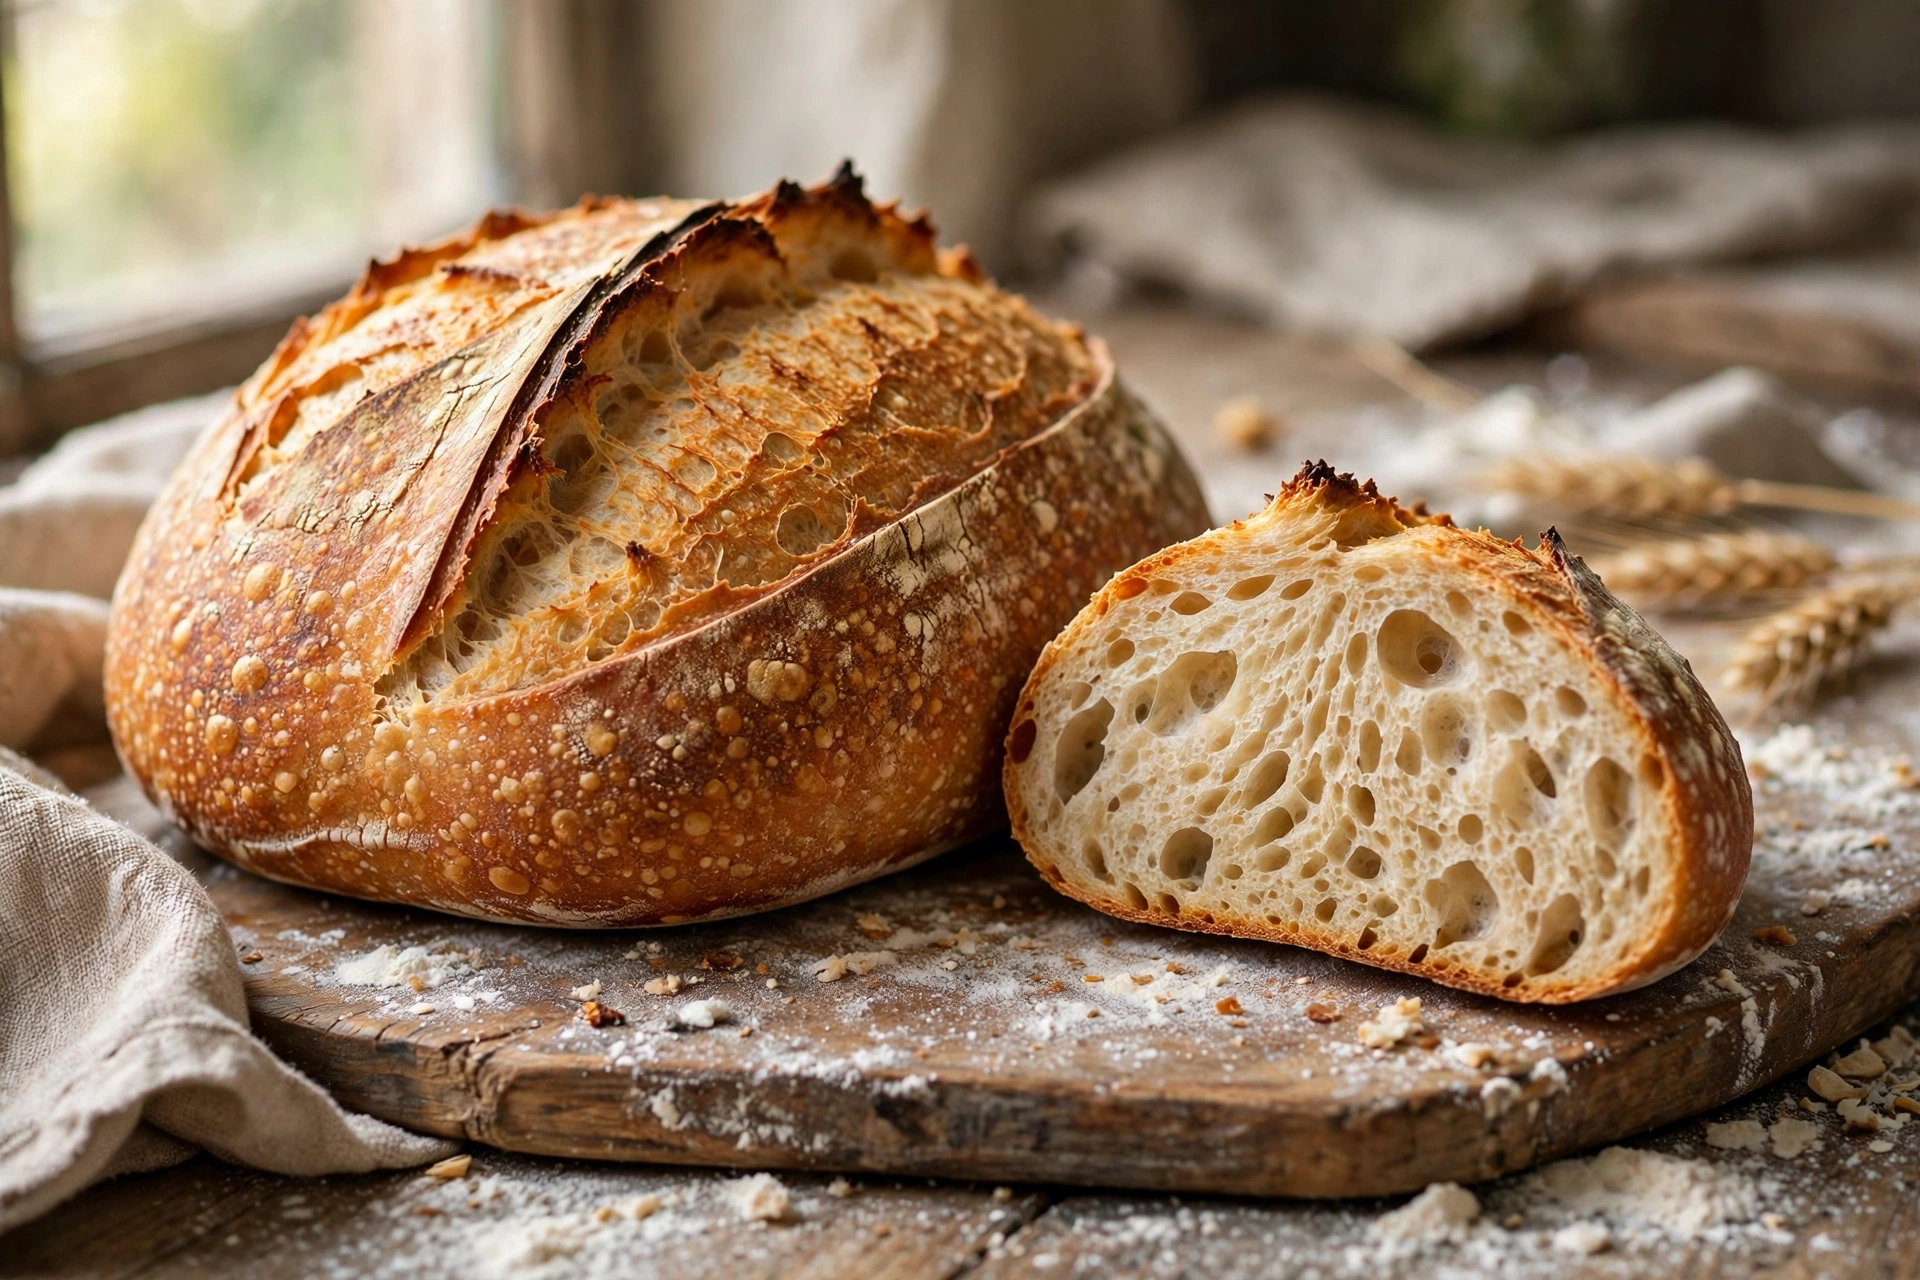
There is nothing quite like the crackle of a homemade sourdough bread loaf cooling on your counter — that golden, blistered crust giving way to a tangy, chewy crumb inside. If you have been intimidated by sourdough, this recipe will make you a believer.
This sourdough bread recipe is written for real life: no complicated schedules and no fussy techniques, just a straightforward method that produces a beautiful artisan loaf with deep flavor. You will need an active sourdough starter, a Dutch oven, and a little patience — the hands-on time is surprisingly short, and time does most of the work.
Prep time: 30 mins (active) | Cook time: 45 mins | Total time: 13 hrs (mostly hands-off) | Servings: 1 loaf (12 slices) | Calories: 190 per slice
Why You’ll Love This Sourdough Bread Recipe
- Beginner friendly: simple steps with clear visual cues — no guesswork.
- Incredible flavor: long, slow fermentation develops that classic tangy sourdough taste.
- Bakery-quality crust: a Dutch oven traps steam for a crackly, golden crust.
- Just 4 ingredients: flour, water, salt, and starter. That is it.
- Flexible timing: the overnight cold proof fits around your schedule, not the other way around.
Ingredients
- 100g (about 1/2 cup) active sourdough starter, bubbly and recently fed
- 350g (about 1 1/2 cups) warm water
- 500g (about 4 cups) bread flour, plus more for dusting
- 10g (about 2 teaspoons) fine sea salt
Equipment Needed
- Kitchen scale (highly recommended)
- Large mixing bowl
- Dutch oven with lid
- Parchment paper
- Proofing basket (or a bowl lined with a floured kitchen towel)
- Bread lame, razor blade, or sharp knife (for scoring)
How To Make
- Mix the dough: in a large bowl, whisk the active starter into the warm water until mostly dissolved. Add the bread flour and salt. Mix with your hands or a sturdy spoon until no dry flour remains and a shaggy dough forms. Cover with a damp towel or plastic wrap and rest for 30 minutes.
- Stretch and fold: over the next 2 hours, perform 3 to 4 sets of stretch and folds, about 30 minutes apart. With damp hands, grab one edge of the dough, stretch it up, and fold it over the center; rotate the bowl a quarter turn and repeat 3 more times. Cover between sets. The dough will get smoother and stronger each time.
- Bulk ferment: after the last fold, cover the bowl and let the dough rise at room temperature until it has grown about 50 to 75 percent larger, looks puffy, and shows bubbles on the surface — usually 4 to 6 more hours depending on your kitchen temperature. Do not rush this; under-fermented dough bakes up dense.
- Shape: turn the dough onto a lightly floured surface. Gently shape it into a tight round: fold the edges toward the center, flip it seam-side down, and use your hands to pull the dough toward you to create surface tension. Rest 15 minutes, then tighten once more.
- Cold proof overnight: place the shaped dough seam-side up into a well-floured proofing basket or towel-lined bowl. Cover and refrigerate 12 to 16 hours. This slow cold ferment builds flavor and makes the dough easy to score.
- Preheat: place your Dutch oven (with the lid on) in the oven and preheat to 450°F (230°C) for at least 45 minutes. A thoroughly hot Dutch oven is key to oven spring.
- Score: turn the cold dough out onto a piece of parchment paper. Using a sharp knife, razor blade, or bread lame, score a confident slash about 1/4 inch deep across the top.
- Bake covered, then uncovered: carefully lower the dough (on the parchment) into the hot Dutch oven, cover with the lid, and bake 25 minutes. Remove the lid and bake 15 to 20 minutes more, until deep golden brown.
- Cool: transfer the loaf to a wire rack and cool at least 1 hour before slicing — cutting too soon makes the crumb gummy. Listen for the crust crackling as it cools; that is the sound of success.
Expert Cooking Tips
- Your starter must be active: it should double within 4 to 8 hours of feeding and pass the float test (a spoonful floats in water). A sleepy starter makes dense bread.
- Watch the dough, not the clock: learn the cues — puffy, bubbly, grown by half or more, jiggles when you shake the bowl.
- Use a kitchen scale: sourdough is far more reliable with gram measurements than cups.
- Do not fear a dark crust: deep golden brown, even with darker blisters, means maximum flavor.
- Storage: keep at room temperature, cut-side down or in a paper bag, for up to 3 days (avoid plastic — it softens the crust). Freeze sliced for up to 3 months; toast straight from frozen. Refresh a day-old loaf with a water spritz and 10 minutes in a 350°F oven.
Frequently Asked Questions
Do I need a Dutch oven to make sourdough?
A Dutch oven gives the best results, but you can bake on a preheated baking stone with a pan of boiling water below for steam. A covered oven-safe pot also works.
How do I know when bulk fermentation is done?
Look for dough that has grown 50 to 75 percent, looks domed and puffy, shows bubbles on the surface and sides, and jiggles slightly when you shake the bowl.
Why is my sourdough dense?
The most common reasons are an inactive starter or under-fermentation. Make sure your starter reliably doubles after feeding, and give the bulk ferment enough time.
Can I bake sourdough the same day?
Yes — after shaping, let the dough proof at room temperature for 2 to 3 hours instead of refrigerating overnight. The flavor will be milder, but the bread will still be delicious.
Conclusion
Homemade sourdough bread is one of the most rewarding things you can bake. Four simple ingredients, a little patience, and your kitchen becomes an artisan bakery — complete with that unmistakable crackly crust.
Bake your first loaf this weekend and taste the difference time makes. If you try this recipe, leave a comment and share how your crumb turned out!
Related:
Easy Classic Meatloaf Recipe (Juicy and Tender Every Time)
The Best Chili Recipe (Thick, Hearty & Full of Flavor)
Yeast Bread Recipe – Soft, Fluffy Homemade Bread
Easy Einkorn Bread Recipe for Soft Homemade Loaf
Whole Wheat Bread Recipe – Soft, Healthy & Easy
Easy Sourdough Bread
Ingredients
Method
- Whisk starter into warm water; add flour and salt. Mix to a shaggy dough; rest 30 minutes covered.
- Perform 3 to 4 sets of stretch and folds, 30 minutes apart, over 2 hours.
- Bulk ferment covered at room temperature 4 to 6 hours, until grown 50 to 75 percent and bubbly.
- Shape into a tight round on a floured surface; rest 15 minutes and tighten again.
- Place seam-side up in a floured proofing basket; refrigerate covered 12 to 16 hours.
- Preheat oven to 450°F (230°C) with Dutch oven inside for 45 minutes.
- Turn dough onto parchment; score 1/4 inch deep.
- Bake covered 25 minutes; uncover and bake 15 to 20 minutes more until deep golden brown.
- Cool on a wire rack at least 1 hour before slicing.