Bunny Watercolor Cake Ideas for Easter & Spring
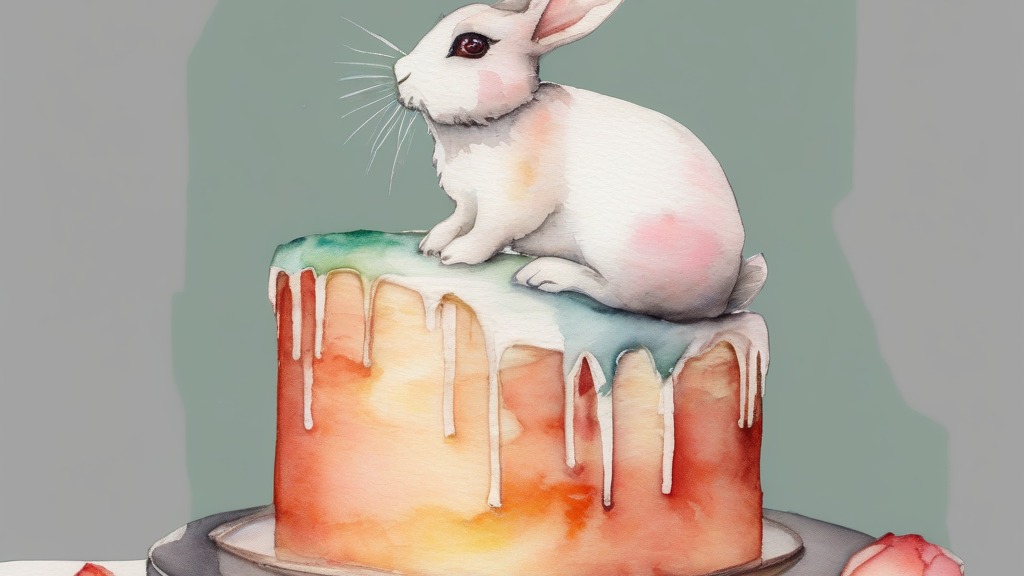
Creating a visually stunning dessert is often more about the technique than the complexity of the ingredients. A bunny watercolor cake captures this perfectly, using soft, blended hues of buttercream to mimic the delicate appearance of a painting on a canvas. The base is typically a moist, dense vanilla sponge that holds its shape well under the weight of decorative frosting. This design works exceptionally well for spring gatherings, children’s parties, or any event where a whimsical, artistic touch is desired. By mastering the application of tinted frosting, you can transform a standard round cake into a masterpiece that looks far more difficult to create than it actually is.
The beauty of this dessert lies in its forgiving nature; because the aesthetic is meant to be impressionistic and soft, you do not need to worry about achieving perfectly smooth, sharp edges. You will gain confidence in your piping and palette-knife skills, learning how to layer colors without creating a muddy mess. The flavor is a classic combination of sweet vanilla bean and rich, silky buttercream, which serves as a crowd-pleasing foundation for the artistic exterior. Whether you are an experienced baker or a beginner looking to expand your decorating repertoire, this project offers a creative outlet that results in a beautiful, delicious centerpiece.
- Prep time: 15 minutes
- Cook time: 30 minutes
- Total time: 45 minutes
- Servings: 8
Why You’ll Love This Recipe
- The watercolor technique is highly forgiving, making it ideal for bakers who struggle with achieving perfectly smooth frosting.
- You can customize the color palette to match any party theme or holiday by simply adjusting the food coloring.
- The vanilla sponge provides a reliable, moist crumb that pairs perfectly with standard American buttercream.
- The finished product serves as a striking, photogenic centerpiece that guests will find impressive.
- It uses basic pantry staples, requiring no specialty ingredients or complex equipment.
Ingredients
- 2 1/2 cups all-purpose flour
- 2 teaspoons baking powder
- 1/2 teaspoon salt
- 3/4 cup unsalted butter, softened
- 1 1/2 cups granulated sugar
- 3 large eggs, room temperature
- 1 tablespoon vanilla extract
- 1 cup whole milk, room temperature
- 2 cups unsalted butter, softened (for frosting)
- 4 cups powdered sugar
- 2 tablespoons heavy cream
- Gel food coloring in pastel shades (pink, blue, yellow, and green)
Equipment Needed
- Two 8-inch round cake pans
- Electric stand mixer or hand mixer
- Large mixing bowls
- Whisk
- Spatula
- Offset palette knife
- Piping bags
- Cake turntable (optional)
How To Make
- Preheat your oven to 350°F (175°C) and grease your cake pans with butter and a light dusting of flour.
- Whisk together the flour, baking powder, and salt in a medium bowl and set aside.
- Cream the butter and sugar in a large bowl using an electric mixer until light and fluffy, about 4 minutes.
- Add the eggs one at a time, beating well after each, then stir in the vanilla extract.
- Gradually add the dry ingredients to the butter mixture, alternating with the milk, beginning and ending with the flour.
- Divide the batter evenly between the two pans and bake for 25 to 30 minutes, or until a toothpick inserted into the center comes out clean.
- Allow the cakes to cool completely on a wire rack before frosting.
- Prepare the buttercream by beating the butter until pale, then slowly adding powdered sugar and heavy cream until smooth.
- Frost the entire cake with a thin layer of white buttercream to create a base.
- Place small dollops of various pastel-colored frostings around the sides of the cake.
- Use an offset palette knife to gently smear and blend the colors horizontally, creating the watercolor effect.
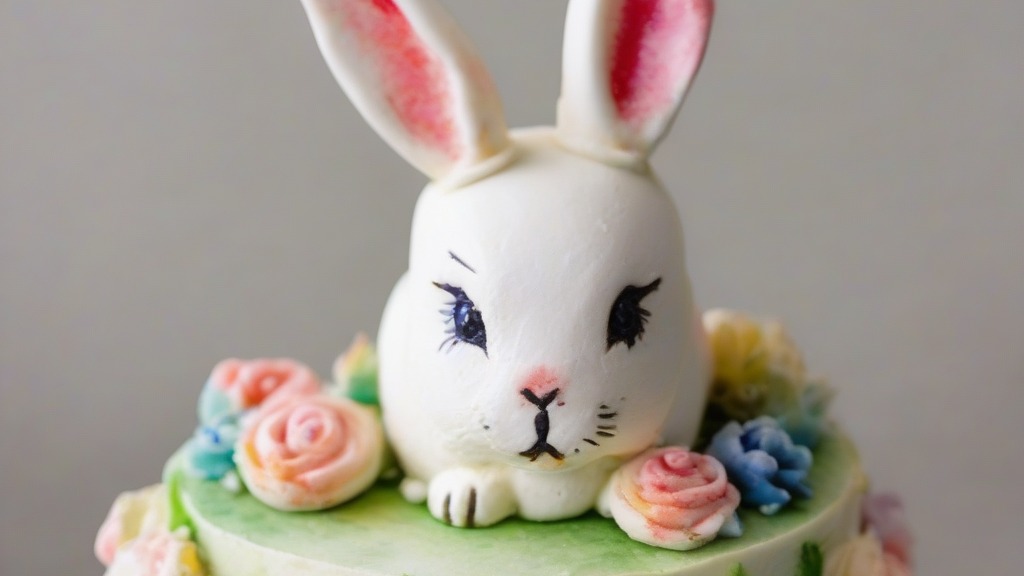
- Add a simple rabbit face detail on top using a piping bag with a fine round tip if desired.
Expert Cooking Tips
- Ensure your butter and eggs are at room temperature before starting to prevent the batter from curdling.
- For the best watercolor effect, do not over-mix the colors on the cake; let the streaks remain visible.
- If the buttercream becomes too soft while you are working, place the bowl in the refrigerator for 10 minutes to firm up.
- You can store leftover cake in an airtight container at room temperature for up to three days.
- When coloring your frosting, start with a tiny amount of gel; a little goes a long way.
Frequently Asked Questions
Can I make the cake layers ahead of time?
Yes, you can bake the layers a day in advance. Wrap them tightly in plastic wrap once they are completely cool and store them at room temperature or in the refrigerator.
What if I don’t have gel food coloring?
Liquid food coloring can be used, but it may alter the consistency of your buttercream by making it too thin. If you must use liquid, add a little extra powdered sugar to compensate.
Can I freeze the decorated cake?
It is best to freeze the cake layers unfrosted. If you need to freeze the decorated cake, place it in the freezer uncovered until the frosting is firm, then wrap it securely in multiple layers of plastic wrap.
How do I achieve a smooth base for the watercolor?
Use a bench scraper or a clean offset spatula to achieve an even base layer of white frosting. Chill the cake for 20 minutes before applying the colored dollops to ensure the base doesn’t drag or tear.
Conclusion
Achieving a beautiful finish on your baked goods becomes a much more accessible task when you embrace the artistic freedom of a palette-knife design. By focusing on the texture of the frosting and the soft blending of colors, you create a dessert that feels personal and handcrafted. The process of making a bunny watercolor cake is as enjoyable as the final result, allowing you to experiment with different shades and patterns. Always ensure your cake is fully cooled before you begin, as heat is the enemy of a crisp buttercream finish.
If you decide to try this project for your next event, feel free to experiment with different color schemes or even add edible gold leaf for an extra touch of elegance. We would love to hear how your creation turned out or if you discovered a specific color combination that worked exceptionally well for your needs. Happy baking, and enjoy sharing your beautiful work with friends and family.
Bunny Watercolor Cake
Ingredients
Method
- Preheat your oven to 350°F (175°C) and grease your cake pans with butter and a light dusting of flour.
- Whisk together the flour, baking powder, and salt in a medium bowl and set aside.
- Cream the butter and sugar in a large bowl using an electric mixer until light and fluffy, about 4 minutes.
- Add the eggs one at a time, beating well after each, then stir in the vanilla extract.
- Gradually add the dry ingredients to the butter mixture, alternating with the milk, beginning and ending with the flour.
- Divide the batter evenly between the two pans and bake for 25 to 30 minutes, or until a toothpick inserted into the center comes out clean.
- Allow the cakes to cool completely on a wire rack before frosting.
- Prepare the buttercream by beating the butter until pale, then slowly adding powdered sugar and heavy cream until smooth.
- Frost the entire cake with a thin layer of white buttercream to create a base.
- Place small dollops of various pastel-colored frostings around the sides of the cake.
- Use an offset palette knife to gently smear and blend the colors horizontally, creating the watercolor effect.
- Add a simple rabbit face detail on top using a piping bag with a fine round tip if desired.