

Easter Rice Krispie Treats – Easy & Cute Easter Dessert Ideas
Creating festive snacks for the spring season is a delightful way to celebrate, and few things are as universally loved as buttery, marshmallow-filled cereal bars. By adding a touch of pastel flair and seasonal decorations, you can easily transform a classic kitchen staple into beautiful easter rice krispie treats that capture the spirit of the holiday. These bars provide the perfect balance of chewy, gooey marshmallow and the satisfying crunch of toasted rice cereal, making them a hit with both children and adults during festive gatherings.
Making this dessert at home is surprisingly straightforward, requiring only a handful of pantry staples and a little bit of creativity. Whether you choose to tint your marshmallow mixture with soft spring colours or fold in festive chocolate candies, you gain a versatile, no-bake project that fits perfectly into a busy spring schedule. The result is a vibrant, shareable confection that brings a nostalgic warmth to any holiday table while remaining light enough to enjoy after a heavy celebratory meal.
- Prep time: 15 minutes
- Cook time: 10 minutes
- Total time: 25 minutes
- Servings: 16 squares
- Calories: 210 per serving
Why You’ll Love This Recipe
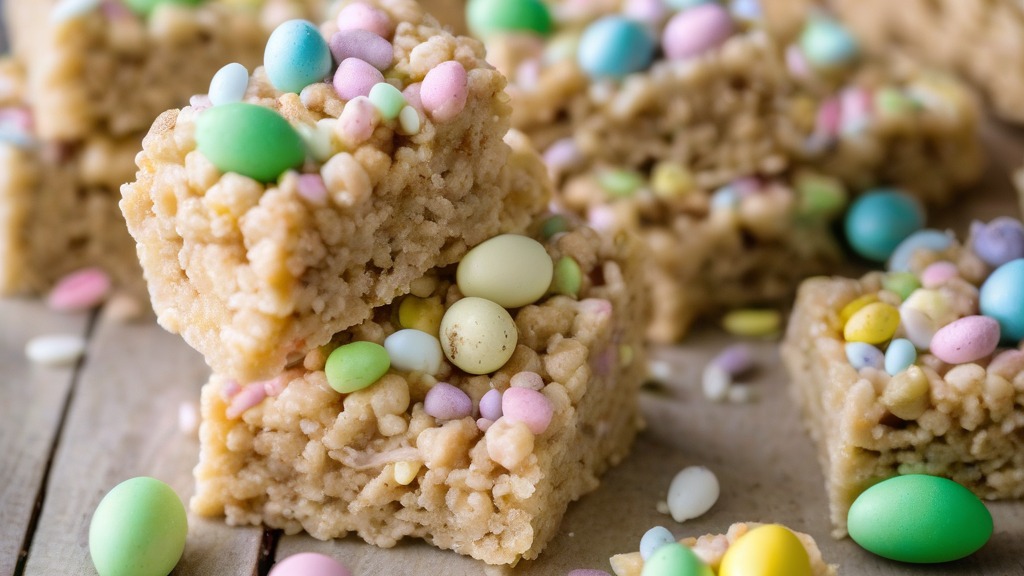
- It is a quick, no-bake dessert that saves valuable oven space for your main holiday meal.
- The recipe is highly customisable, allowing you to use your favourite pastel sprinkles, candy-coated chocolates, or food colouring.
- These treats remain soft and chewy for several days when stored in an airtight container.
- They are incredibly budget-friendly and use basic ingredients likely already found in your pantry.
- The individual squares are easy to serve at parties, school events, or as part of a brunch spread.
Ingredients
- 4 tablespoons unsalted butter
- 10 ounces miniature marshmallows (divided into 8 ounces and 2 ounces)
- 1/4 teaspoon vanilla extract
- 6 cups crispy rice cereal
- 3 drops gel food colouring (optional, pastel pink, blue, or yellow)
- 1/2 cup pastel-coloured candy-coated chocolates
- 2 tablespoons festive spring sprinkles
Equipment Needed
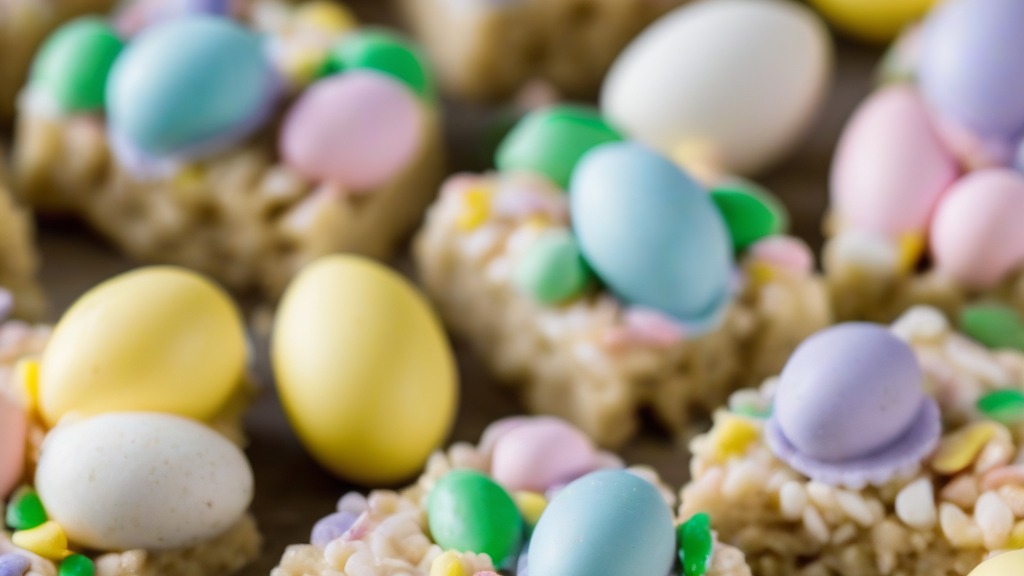
- 9×9 inch square baking pan
- Large non-stick saucepan or Dutch oven
- Silicone spatula
- Measuring cups and spoons
- Parchment paper or wax paper
How To Make
- Line your 9×9 inch baking pan with parchment paper, leaving an overhang on the sides for easy removal, and lightly grease the paper with butter or non-stick spray.
- Melt the 4 tablespoons of butter in the large saucepan over low heat until completely liquefied.
- Add 8 ounces of the miniature marshmallows to the butter, stirring constantly with a silicone spatula until the mixture is completely smooth and no lumps remain.
- Remove the pan from the heat immediately and stir in the vanilla extract and your chosen gel food colouring, if using, until the colour is uniform.
- Fold in the crispy rice cereal, stirring gently until every piece is evenly coated in the melted marshmallow mixture.
- Stir in the remaining 2 ounces of whole marshmallows and the candy-coated chocolates, being careful not to over-mix so the marshmallows keep their shape.
- Transfer the mixture to your prepared baking pan, using your greased spatula to press it down gently into an even layer; do not pack it too tightly or the bars will become hard.
- Scatter the festive sprinkles over the top, pressing them lightly into the surface so they adhere.
- Allow the treats to cool completely at room temperature for at least 30 minutes before lifting them out of the pan using the parchment paper handles.
- Use a sharp, greased knife to cut the block into 16 even squares.
Expert Cooking Tips
- Always use low heat when melting your marshmallows; high heat can cause the sugar to caramelise, resulting in hard or brittle bars rather than soft, chewy ones.
- If you find the marshmallow mixture is sticking to your hands or spatula, lightly coat them with a small amount of butter or neutral oil to make the pressing process much easier.
- To prevent your bars from drying out, keep them in an airtight container at room temperature for up to three days, or wrap them individually in plastic wrap for longer freshness.
- Avoid using jumbo marshmallows if possible, as they take longer to melt and can lead to uneven texture; miniature marshmallows provide the most consistent results.
- For a cleaner look, you can slightly dampen your fingers with water before pressing the mixture into the pan to achieve a perfectly smooth top surface.
Frequently Asked Questions
Can I substitute the cereal with something else?
While crispy rice cereal is the classic choice, you can swap it for puffed corn cereal or even a mix of toasted oats, though the texture will be slightly denser. Avoid using flakes or bran-based cereals as they do not hold the marshmallow structure as well.
How do I keep the treats from getting hard?
The most common cause of hard treats is overheating the marshmallows. Once the marshmallows are mostly melted, remove the pan from the heat and finish the melting process using the residual heat of the saucepan. Additionally, avoid packing the mixture too firmly into the pan.
Can I make these treats in advance?
These are excellent for advance preparation. You can make them up to two days before your event and keep them in a sealed container at room temperature. They generally stay soft and pliable for about 72 hours.
Is it possible to freeze these bars?
Yes, you can freeze them for up to one month. Place them in a single layer in a freezer-safe bag or container with parchment paper between layers to prevent sticking. Thaw them at room temperature for about 30 minutes before serving.
Conclusion
Achieving the perfect texture with these festive snacks comes down to patience and gentle handling. By keeping your heat low and avoiding the temptation to compress the cereal too tightly, you ensure that every bite remains soft, chewy, and satisfying. These bars are a wonderful way to bring a touch of joy to your spring celebrations, providing a simple yet effective way to impress friends and family with minimal effort.
Now that you have the steps for preparing these delicious treats, you are ready to experiment with your own favourite candy mix-ins and seasonal decorations. Whether you are hosting a large family gathering or looking for a fun afternoon activity, these easter rice krispie treats are sure to be a highlight of the season. Please share your favourite colour combinations or any unique variations you discover while making this classic holiday snack.
Easter Rice Krispie Treats
Ingredients
Method
- Line your 9×9 inch baking pan with parchment paper, leaving an overhang on the sides for easy removal, and lightly grease the paper with butter or non-stick spray.
- Melt the 4 tablespoons of butter in the large saucepan over low heat until completely liquefied.
- Add 8 ounces of the miniature marshmallows to the butter, stirring constantly with a silicone spatula until the mixture is completely smooth and no lumps remain.
- Remove the pan from the heat immediately and stir in the vanilla extract and your chosen gel food colouring, if using, until the colour is uniform.
- Fold in the crispy rice cereal, stirring gently until every piece is evenly coated in the melted marshmallow mixture.
- Stir in the remaining 2 ounces of whole marshmallows and the candy-coated chocolates, being careful not to over-mix so the marshmallows keep their shape.
- Transfer the mixture to your prepared baking pan, using your greased spatula to press it down gently into an even layer; do not pack it too tightly or the bars will become hard.
- Scatter the festive sprinkles over the top, pressing them lightly into the surface so they adhere.
- Allow the treats to cool completely at room temperature for at least 30 minutes before lifting them out of the pan using the parchment paper handles.
- Use a sharp, greased knife to cut the block into 16 even squares.


