Homemade Dark Chocolate Bark Recipe – Easy & Delicious
Crafting a rich, snap-worthy treat at home is far simpler than many confectioners let on. By focusing on the quality of your cocoa and the precision of your temperature control, you can produce a sophisticated dessert that rivals high-end boutique sweets. This process transforms basic pantry staples into a versatile snack that balances intense bitterness with the bright, contrasting notes of nuts, dried fruits, or sea salt.
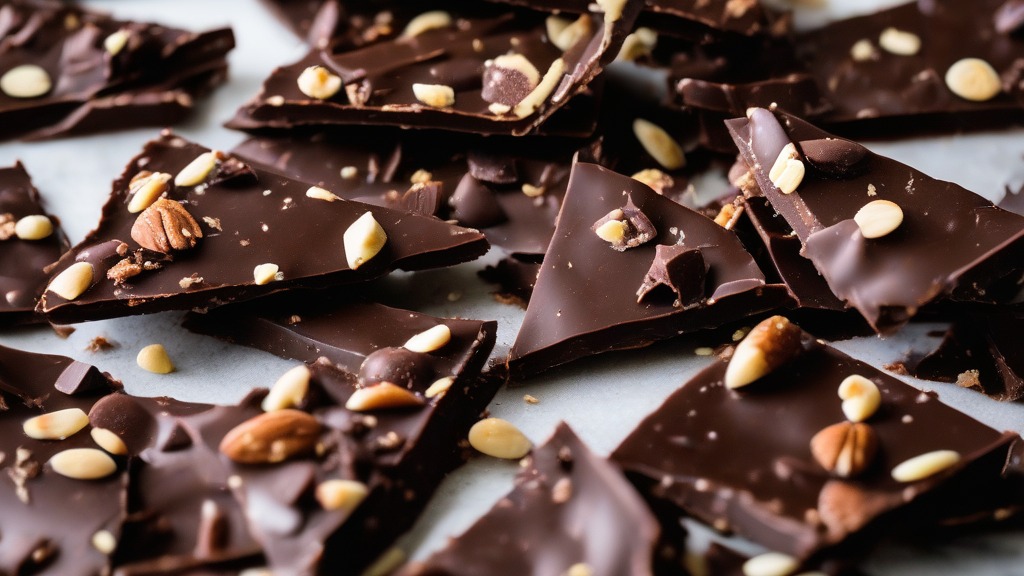
Mastering the art of making homemade dark chocolate bark allows you to customize every aspect of your dessert, from the percentage of cacao to the specific texture of your toppings. Whether you are preparing a quick gift for a friend or looking for a refined end to a dinner party, the ability to temper and set your own chocolate provides a satisfying sense of culinary accomplishment.
- Prep time: 15 minutes
- Cook time: 30 minutes
- Total time: 45 minutes
- Servings: 12
- Calories: 210 per serving
Why You’ll Love This Recipe
- It requires only a handful of high-quality ingredients, ensuring a pure and intense flavor profile.
- The preparation time is minimal, making it an ideal choice for last-minute entertaining.
- You have total creative control over the toppings, allowing for endless flavor combinations like peppermint, dried cranberries, or toasted almonds.
- The finished product stores well for weeks, meaning you can keep a stash in the pantry for whenever a craving hits.
- It is naturally gluten-free and vegan-friendly, provided you select the appropriate chocolate base.
Ingredients
- 16 ounces high-quality dark chocolate (70% cocoa or higher), finely chopped
- 1/2 cup raw almonds, roughly chopped and toasted
- 1/4 cup dried tart cherries, halved
- 1/2 teaspoon flaky sea salt
- 1 tablespoon pepitas (pumpkin seeds)
Equipment Needed
- Large heat-proof glass or metal mixing bowl
- Small saucepan (to create a double boiler)
- Rubber spatula
- Large baking sheet
- Parchment paper
- Chef’s knife
How To Make
- Line a large baking sheet with parchment paper, ensuring the edges are smooth and flat.
- Fill a small saucepan with 2 inches of water and bring it to a gentle simmer over low heat.
- Place the chopped chocolate into your heat-proof bowl and set it over the simmering water, ensuring the bottom of the bowl does not touch the water.
- Stir the chocolate constantly with a rubber spatula until it is about 75% melted, then remove the bowl from the heat.
- Continue stirring the mixture off the heat until the remaining solid pieces melt completely and the chocolate is smooth and glossy.
- Pour the tempered chocolate onto the parchment-lined baking sheet and use your spatula to spread it into an even layer, approximately 1/4 inch thick.
- Immediately sprinkle the chopped almonds, dried cherries, and pepitas evenly over the surface, pressing them gently into the chocolate so they adhere.
- Finish by sprinkling the flaky sea salt over the top while the chocolate is still soft.
- Place the baking sheet in a cool, dry area or the refrigerator for at least 30 minutes until the chocolate is completely firm and set.
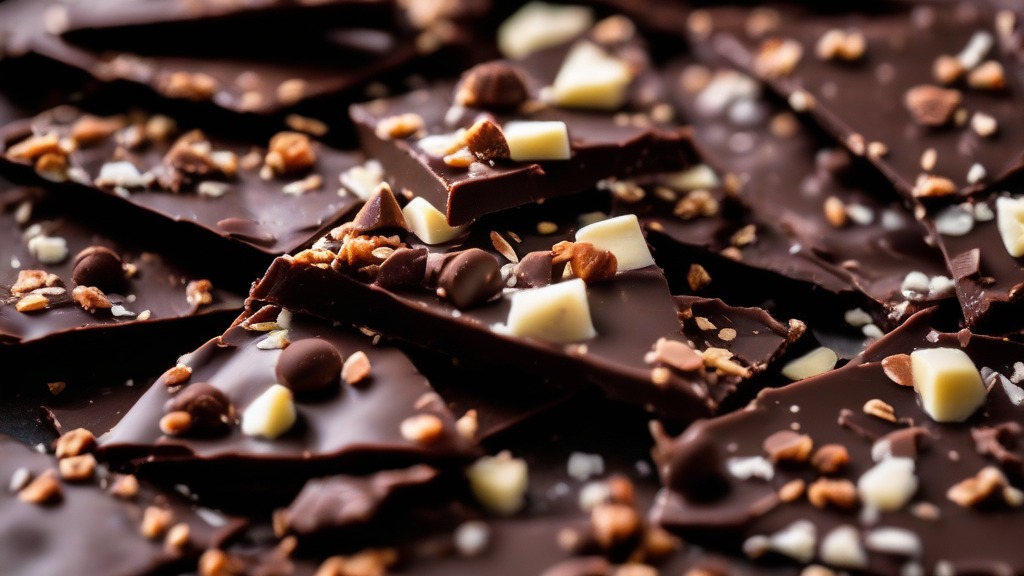
- Once firm, use your hands or a sharp knife to break the layer into irregular, rustic-sized pieces.
Expert Cooking Tips
- Always use the highest quality chocolate you can find, as the flavor of the final dish relies entirely on this single ingredient.
- Avoid getting even a single drop of water into your melting chocolate, as this can cause it to seize and become grainy.
- To toast your nuts for better flavor, place them in a dry skillet over medium heat for 3 to 5 minutes, tossing frequently until fragrant.
- If your kitchen is warm, keep the bark in the refrigerator to ensure it maintains a crisp, satisfying snap rather than becoming soft.
- For a cleaner break, let the chocolate reach room temperature before snapping it, or use a warm, dry knife to score the surface first.
Frequently Asked Questions
Can I use milk chocolate instead of dark?
You certainly can, though the sugar content in milk chocolate will make the final result significantly sweeter. If you choose milk chocolate, consider reducing the amount of sweet toppings like dried fruit to balance the profile.
How long does the bark stay fresh?
When stored in an airtight container in a cool, dark place, your creation will remain fresh for up to three weeks. Avoid storing it in humid areas, as this can cause the sugar to bloom or the texture to soften.
Why did my chocolate turn white?
This is known as sugar or fat bloom. It happens when the chocolate is not tempered correctly or is exposed to fluctuating temperatures. While it may look less professional, it is perfectly safe to eat and does not affect the flavor.
Can I freeze the bark?
Yes, it freezes exceptionally well. Wrap the pieces in parchment paper and place them in a freezer-safe bag. It will last for up to three months; simply let it come to room temperature before serving to avoid condensation.
Conclusion
Creating your own confectionery at home is a rewarding experience that highlights how simple ingredients, when treated with care, can result in something truly special. By paying attention to the melting process and choosing high-quality inclusions, you ensure that every batch of homemade dark chocolate bark you produce is consistent in texture and flavor. This is a versatile project that invites you to experiment with different flavor profiles, from spicy chili flakes to zesty orange peel.
Once you have mastered the basics, you will find that this method becomes a reliable go-to for thoughtful gifts or a quick, elegant dessert. I encourage you to try different nut and fruit combinations to find your favorite pairing. Please share your own successful variations or any questions that arise as you refine your technique in the kitchen.
Homemade Dark Chocolate Bark Recipe
Ingredients
Equipment
Method
- Line a large baking sheet with parchment paper, ensuring the edges are smooth and flat.
- Fill a small saucepan with 2 inches of water and bring it to a gentle simmer over low heat.
- Place the chopped chocolate into your heat-proof bowl and set it over the simmering water, ensuring the bottom of the bowl does not touch the water.
- Stir the chocolate constantly with a rubber spatula until it is about 75% melted, then remove the bowl from the heat.
- Continue stirring the mixture off the heat until the remaining solid pieces melt completely and the chocolate is smooth and glossy.
- Pour the tempered chocolate onto the parchment-lined baking sheet and use your spatula to spread it into an even layer, approximately 1/4 inch thick.
- Immediately sprinkle the chopped almonds, dried cherries, and pepitas evenly over the surface, pressing them gently into the chocolate so they adhere.
- Finish by sprinkling the flaky sea salt over the top while the chocolate is still soft.
- Place the baking sheet in a cool, dry area or the refrigerator for at least 30 minutes until the chocolate is completely firm and set.
- Once firm, use your hands or a sharp knife to break the layer into irregular, rustic-sized pieces.