

Lemon Dump Cake With Creamy Layers – Easy Recipe
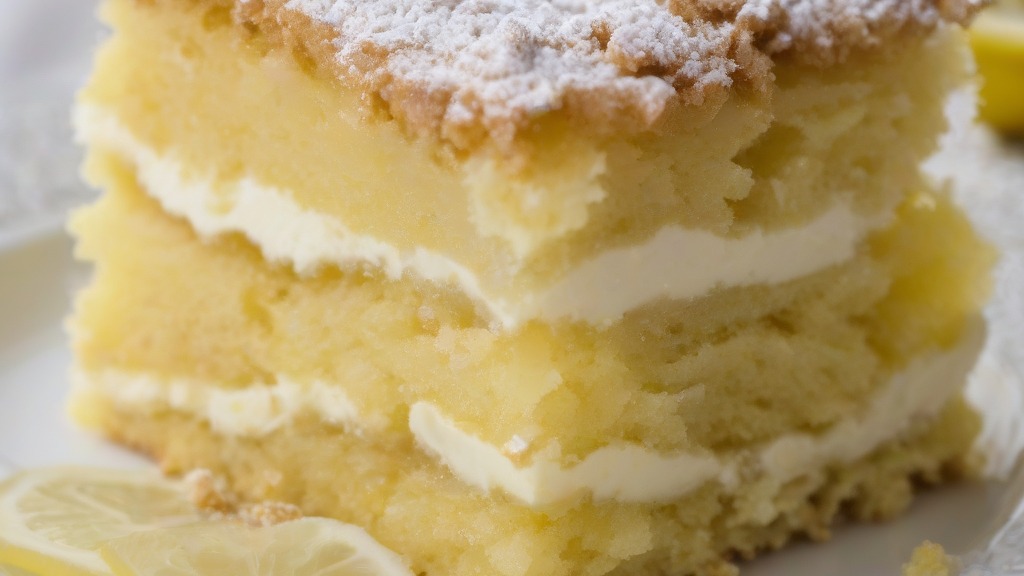
Combining the bright, zesty profile of citrus with a rich, velvety texture, this dessert offers a refreshing alternative to heavy chocolate bakes. The preparation relies on the effortless layering of pantry staples, resulting in a golden, buttery crust that conceals a luscious, pudding-like center. Preparing a lemon dump cake with creamy layers provides a sophisticated contrast between the tart fruit base and the sweetened cream cheese ribbons throughout the cake. It is an ideal solution for those who want a high-impact dessert without the complexity of traditional from-scratch baking, making it a reliable staple for last-minute gatherings or casual weeknight treats.
The beauty of this dish lies in its accessibility and the way the ingredients transform during the baking process. By carefully layering the components, you ensure that the cake mix absorbs just enough moisture to become tender while the fruit and cream cheese create a decadent filling. Whether you are serving it warm with a scoop of vanilla bean ice cream or chilled for a firmer consistency, the final result is always balanced and satisfying.
- Prep time: 15 minutes
- Cook time: 45 minutes
- Total time: 1 hour
- Servings: 8
- Calories: 385 per serving
Why You’ll Love This Recipe
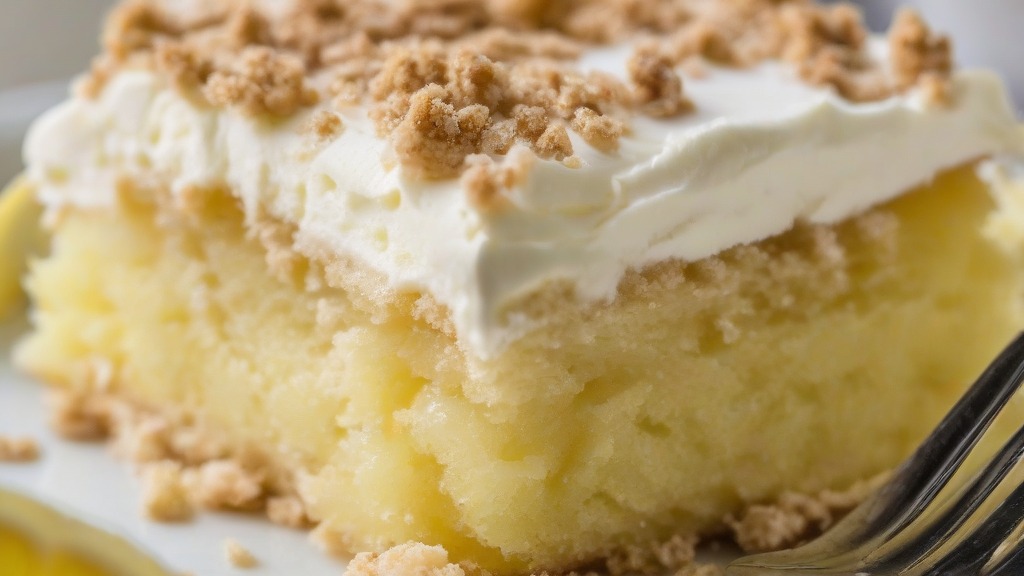
- The tartness of the lemon filling perfectly cuts through the richness of the cream cheese, preventing the cake from being overly sweet.
- It requires minimal active effort, as the oven does the heavy lifting to combine the ingredients into a cohesive dessert.
- You can easily adjust the consistency by serving it warm for a softer, spoonable texture or cold for cleaner slices.
- The recipe uses standard pantry staples, meaning you can whip it up without a special trip to the grocery store.
- It holds up well for several days, making it a practical choice for those who like to prepare dessert in advance.
Ingredients
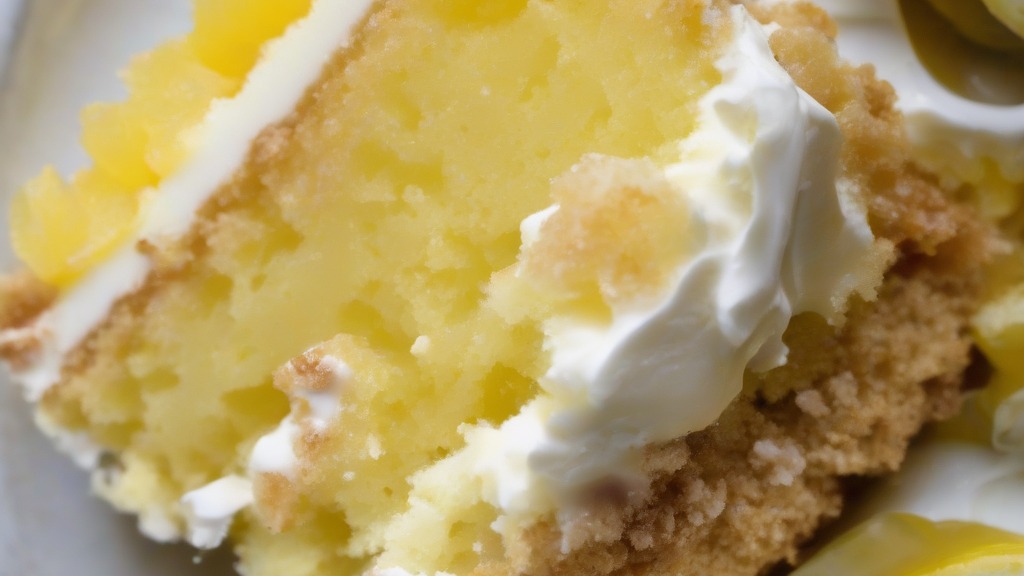
- 2 cans (21 ounces each) lemon pie filling
- 8 ounces cream cheese, softened to room temperature
- 1/4 cup granulated sugar
- 1 teaspoon vanilla extract
- 1 box (15.25 ounces) yellow cake mix
- 3/4 cup unsalted butter, melted
- 1/2 cup sliced almonds (optional, for topping)
Equipment Needed
- 9×13 inch baking dish
- Large mixing bowl
- Electric hand mixer
- Silicone spatula
- Measuring cups
How To Make
- Preheat your oven to 350°F (175°C). Lightly grease your 9×13 inch baking dish with butter or non-stick cooking spray.
- Spread the two cans of lemon pie filling evenly across the bottom of the prepared baking dish.
- In a mixing bowl, beat the softened cream cheese, granulated sugar, and vanilla extract until the mixture is smooth and free of large lumps.
- Drop small spoonfuls of the cream cheese mixture over the lemon pie filling. Use a knife or spatula to gently swirl the cream cheese into the lemon layer, creating ribbons of flavor.
- Sprinkle the dry yellow cake mix evenly over the top of the fruit and cream cheese layers. Use a spatula to lightly level the mix, but do not stir it into the bottom layers.
- Drizzle the melted butter evenly over the entire surface of the cake mix, ensuring you cover as much dry powder as possible to avoid powdery spots.
- If using, sprinkle the sliced almonds over the top.
- Bake for 40 to 45 minutes, or until the top is golden brown and the edges are bubbling. The center should be set but still slightly soft.
- Allow the cake to cool on a wire rack for at least 20 minutes before serving to ensure the filling stabilizes.
Expert Cooking Tips
- Ensure your cream cheese is truly at room temperature before mixing; cold cream cheese will remain lumpy and won’t blend smoothly into the lemon filling.
- If you notice dry spots of cake mix after adding the butter, use a spoon to gently pat those areas down so they absorb the moisture from the butter and filling.
- For a crunchier top, you can increase the butter by two tablespoons, but be careful not to oversaturate the cake mix, which can make it greasy.
- If you are preparing this for a dinner party, bake it a few hours early. This dessert actually tastes better after it has had time to rest and the layers have melded together.
- Store leftovers in an airtight container in the refrigerator for up to four days. Reheat individual portions in the microwave for 20 seconds if you prefer a warm dessert.
Frequently Asked Questions
Can I use a different flavor of pie filling?
Yes, this method works well with other fruit fillings like cherry or blueberry. However, lemon provides a specific acidity that balances the richness of the cream cheese better than sweeter fruit options.
Is it possible to use homemade cake mix?
You can use a homemade dry mix, provided it contains the same volume of ingredients as a standard 15-ounce box. Ensure your mix is well-sifted to prevent clumping during the baking process.
Why is my cake mix still powdery after baking?
This usually happens because not enough butter touched the dry mix. Ensure you drizzle the butter slowly and cover the corners of the pan, as those areas often remain dry if neglected.
Can this dessert be frozen?
It can be frozen for up to one month. Wrap the cooled baking dish tightly in plastic wrap and then aluminum foil. Thaw in the refrigerator overnight before warming in a low-temperature oven.
Conclusion
Creating a homemade dessert that feels luxurious yet requires minimal effort is a skill worth mastering. By focusing on the interplay between the tangy lemon base and the sweet, creamy ribbons, you achieve a balanced flavor profile that rarely fails to impress guests. This recipe is designed to be forgiving, allowing you to experiment with toppings like toasted nuts or even a dusting of powdered sugar once the cake has cooled.
As you become more comfortable with this technique, feel free to adjust the ratio of cream cheese to fruit based on your personal preference for richness. Seeing how simple ingredients evolve into a professional-looking treat is the best part of the process. I encourage you to try this lemon dump cake with creamy layers for your next gathering and share your thoughts or any creative variations you discover along the way.
Lemon Dump Cake With Creamy Layers
Ingredients
Equipment
Method
- Preheat your oven to 350°F (175°C). Lightly grease your 9×13 inch baking dish with butter or non-stick cooking spray.
- Spread the two cans of lemon pie filling evenly across the bottom of the prepared baking dish.
- In a mixing bowl, beat the softened cream cheese, granulated sugar, and vanilla extract until the mixture is smooth and free of large lumps.
- Drop small spoonfuls of the cream cheese mixture over the lemon pie filling. Use a knife or spatula to gently swirl the cream cheese into the lemon layer, creating ribbons of flavor.
- Sprinkle the dry yellow cake mix evenly over the top of the fruit and cream cheese layers. Use a spatula to lightly level the mix, but do not stir it into the bottom layers.
- Drizzle the melted butter evenly over the entire surface of the cake mix, ensuring you cover as much dry powder as possible to avoid powdery spots.
- If using, sprinkle the sliced almonds over the top.
- Bake for 40 to 45 minutes, or until the top is golden brown and the edges are bubbling. The center should be set but still slightly soft.
- Allow the cake to cool on a wire rack for at least 20 minutes before serving to ensure the filling stabilizes.


