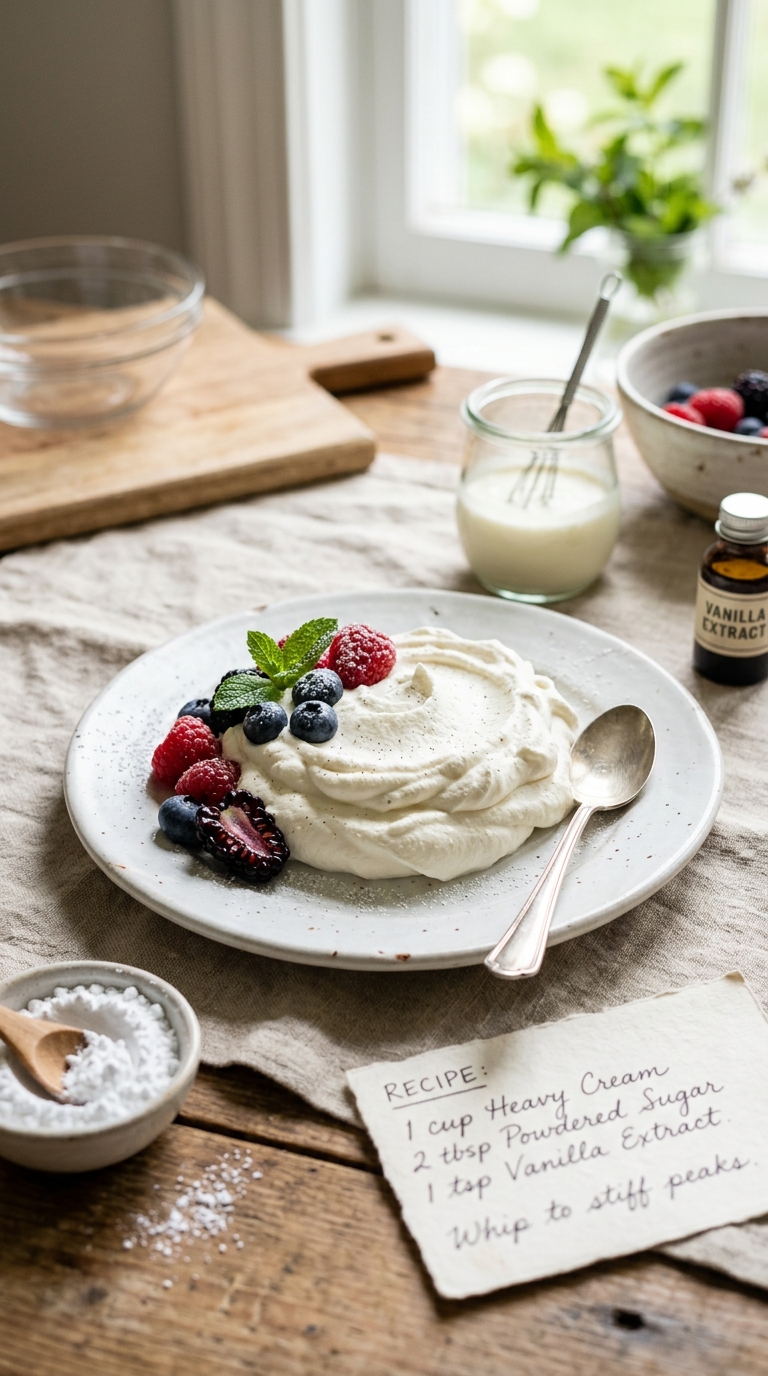
Step 1: Chill Everything
Place your mixing bowl and mixer attachments in the refrigerator or freezer for about 15 minutes. Cold equipment helps the cream whip faster and hold its shape longer.
Step 2: Add Ingredients
Pour the chilled heavy whipping cream into the cold mixing bowl.
Add:
Powdered sugar
Vanilla extract
These ingredients will blend smoothly into the cream while whipping.
Step 3: Begin Whipping
Using a hand mixer or stand mixer, start beating on low speed for about 30 seconds.
Gradually increase to medium-high speed.
This slow start prevents splattering and ensures even aeration.
Step 4: Watch for Soft Peaks
After 2–3 minutes, the cream will begin thickening.
When you lift the beaters, the cream should form soft peaks that gently fold over.
Soft peaks are ideal for:
Coffee toppings
Fruit parfaits
Pancakes
Waffles
Step 5: Continue to Stiff Peaks
Keep whipping for another minute.
The cream is ready when firm peaks stand upright when the beaters are lifted.
This texture works perfectly for:
Cake decorating
Cupcake frosting
Pie toppings
Dessert fillings
Step 6: Avoid Overwhipping
Stop immediately once stiff peaks form.
Overwhipping can cause the cream to become grainy and eventually turn into butter.
Step 7: Serve or Store
Use immediately or refrigerate until needed.
Homemade whipped cream is best enjoyed within 24 hours but can stay fresh for up to 3 days.