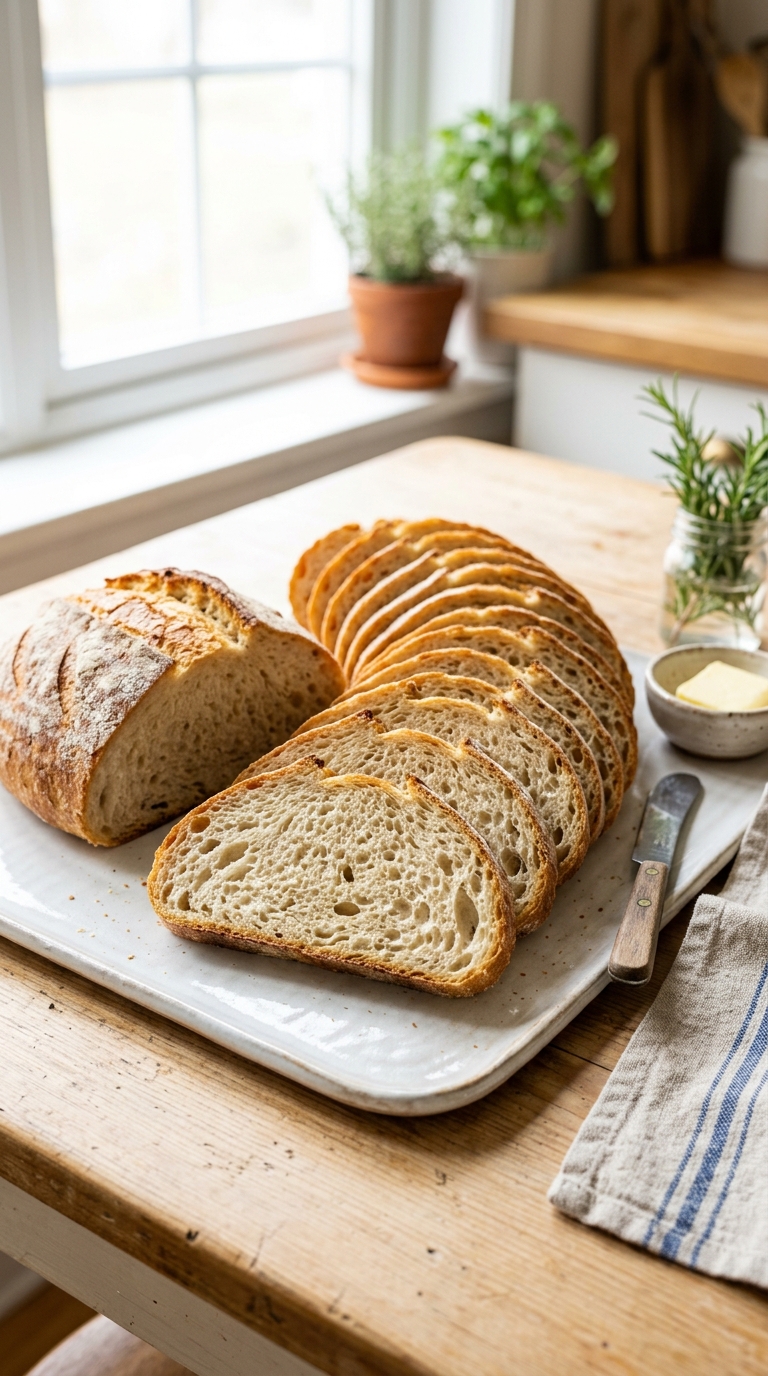
Step 1: Activate the Yeast
Pour the warm water into a large mixing bowl. Add sugar and yeast, then gently stir.
Let the mixture sit for 5–10 minutes until it becomes foamy and fragrant. The foam indicates that the yeast is alive and ready to help the dough rise.
Tip: If no foam develops, your yeast may be expired or the water temperature may be incorrect.
Step 2: Add Wet Ingredients
Add melted butter to the yeast mixture and stir until combined.
The mixture should smell slightly sweet and yeasty, a good sign that fermentation has begun.
Step 3: Mix the Dough
Add salt and gradually mix in the flour, one cup at a time.
Continue stirring until a shaggy dough forms. At this stage, the dough will appear rough and somewhat sticky.
Avoid adding too much flour too quickly. A slightly sticky dough produces softer bread.
Step 4: Knead the Dough
Transfer the dough to a lightly floured surface.
Knead for 8–10 minutes until the dough becomes smooth, elastic, and supple.
You'll notice the dough transforming from rough and sticky into a silky ball that springs back when gently pressed.
Sensory Cue: Properly kneaded dough feels soft and stretchy rather than dense.
Step 5: First Rise
Lightly oil a large bowl.
Place the dough inside and turn it once to coat.
Cover with a kitchen towel and allow it to rise in a warm location for 60–90 minutes.
The dough should double in size and develop a light, airy appearance.
Step 6: Shape the Loaf
Punch down the dough gently to release excess gas.
Shape it into a loaf by folding the edges inward and rolling tightly.
Place the dough into a greased loaf pan.
The surface should appear smooth and slightly taut.
Step 7: Second Rise
Cover loosely and let rise again for 30–45 minutes.
The dough should rise about one inch above the edge of the pan.
This second rise contributes significantly to the bread's fluffy texture.
Step 8: Bake
Preheat the oven to 375°F (190°C).
Bake for 28–32 minutes until the loaf develops a rich golden-brown crust.
The bread should sound hollow when tapped on the bottom.
For even greater accuracy, the internal temperature should reach approximately 190°F–200°F.
Step 9: Cool Properly
Remove the bread from the pan immediately.
Allow it to cool on a wire rack for at least 30 minutes.
The aroma will be irresistible, but cooling helps the crumb set properly and prevents a gummy texture.