Easter Bunny Pancakes Recipe – Cute & Easy Easter Breakfast
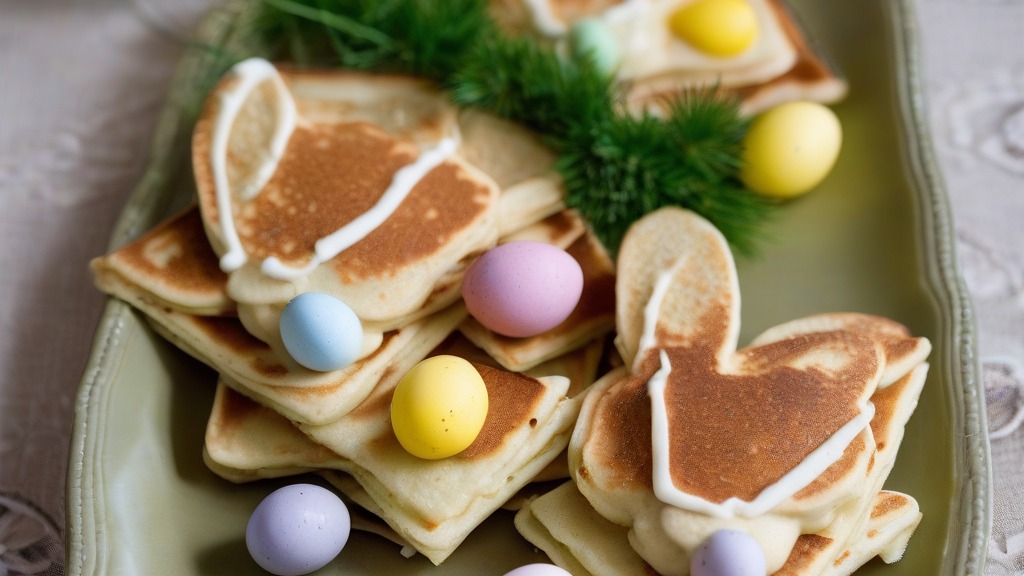
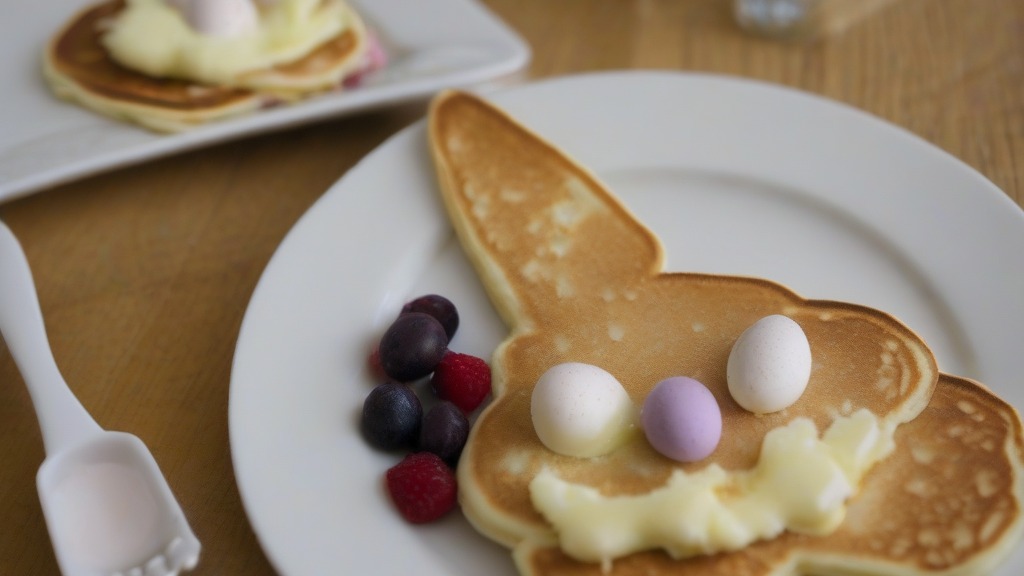
Transforming a standard breakfast into a festive celebration is simple when you use your batter to create adorable, seasonal shapes. These easter bunny pancakes rely on basic pantry staples and a bit of creative pouring to form a charming rabbit face right on your griddle. By using different sizes of batter circles, you can easily assemble ears, cheeks, and a snout that look impressive but require no specialized molds or professional culinary skills.
The texture remains light and fluffy, while the visual appeal makes them a favorite for holiday mornings. Because the base is a classic buttermilk-style batter, they pair perfectly with fresh berries, whipped cream, or a drizzle of warm maple syrup. Whether you are hosting a family brunch or looking for a fun activity to share with children, this recipe offers a reliable way to bring a touch of whimsy to your table.
- Prep time: 15 minutes
- Cook time: 30 minutes
- Total time: 45 minutes
- Servings: 4
- Calories: 380 per serving
Why You’ll Love This Recipe
- Requires only common pantry ingredients like flour, milk, and eggs.
- The assembly process is a fun, hands-on activity for all ages.
- Produces a soft, golden-brown texture that holds its shape well during decoration.
- Highly customizable with different fruits and sweets for facial features.
- Efficiently serves a family of four in under an hour.
Ingredients
- 2 cups all-purpose flour
- 2 tablespoons granulated sugar
- 1 tablespoon baking powder
- 1/2 teaspoon salt
- 2 large eggs, lightly beaten
- 1 3/4 cups whole milk
- 4 tablespoons unsalted butter, melted and cooled
- 1 teaspoon vanilla extract
- 1 cup fresh strawberries, sliced (for decoration)
- 1/2 cup blueberries (for eyes)
- 1/2 cup whipped cream (optional, for snout)
Equipment Needed
- Large mixing bowl
- Whisk
- Measuring cups and spoons
- Non-stick frying pan or electric griddle
- Squeeze bottle or large spoon for batter
- Flat spatula
How To Make
- In a large bowl, whisk together the flour, sugar, baking powder, and salt until well combined.
- In a separate medium bowl, mix the eggs, milk, melted butter, and vanilla extract.
- Pour the wet ingredients into the dry ingredients and stir gently with a whisk until just combined; a few small lumps are perfectly fine.
- Heat your griddle or frying pan over medium heat and lightly grease it with butter or cooking spray.
- For each bunny, pour one large circle of batter (about 4 inches wide) onto the griddle to form the face.
- Immediately pour two long, thin oval shapes above the face to create the ears.
- Pour two very small circles at the bottom of the face to act as cheeks.
- Cook until bubbles form on the surface and the edges look set, about 2 to 3 minutes.
- Carefully flip the pieces and cook for another 1 to 2 minutes until golden brown.
- Assemble the bunny on a plate by placing the ears at the top of the face and the cheeks in the center.
- Decorate with blueberry eyes and strawberry slices for the nose and inner ears.
Expert Cooking Tips
- Use a squeeze bottle to dispense the batter; this gives you much more control over the size and shape of the ears compared to using a spoon.
- If the batter becomes too thick while sitting, stir in an extra tablespoon of milk to reach the desired consistency.
- Keep cooked pieces warm in an oven set to 200 degrees Fahrenheit while you finish the remaining batches.
- Ensure the griddle is at a steady medium heat; if it is too hot, the ears will burn before the face is cooked through.
- For extra flair, use chocolate chips or shredded coconut to add whiskers or texture to the bunny faces.
Frequently Asked Questions
Can I make the batter ahead of time?
Yes, you can prepare the batter up to one hour before cooking. Keep it covered in the refrigerator, but be aware that the baking powder may lose some of its leavening power if left for too long.
What is the best way to reheat leftovers?
Reheat individual pieces in a toaster or a dry skillet over low heat. Avoid the microwave, as it often makes the texture soggy rather than fluffy.
Can I freeze these for later?
You can freeze the plain pancake shapes once they have cooled completely. Place them in an airtight container with parchment paper between layers, and reheat them directly in a toaster when you are ready to serve.
Do I need a special mold to get the right shape?
No special molds are required. By pouring the batter in separate stages, you can achieve a perfect result using only a spoon or a squeeze bottle. Practice makes the process smoother, but even slightly imperfect shapes look charming once decorated.
Conclusion
Creating a memorable holiday breakfast does not require complex techniques or expensive kitchen gadgets. By focusing on the simple joy of shaping your batter into creative forms, you turn a standard meal into a festive highlight for your family. The combination of fluffy textures and fresh fruit toppings ensures that everyone enjoys the flavor as much as the presentation.
Once you have mastered the basic assembly, feel free to experiment with different fruit combinations or even chocolate drizzles to customize your breakfast. We hope you have a wonderful time preparing these easter bunny pancakes for your loved ones this season. If you come up with a clever variation or a new way to decorate the ears and nose, please share your results or reach out with any questions you might have about the process.
Easter Bunny Pancakes Recipe
Ingredients
Equipment
Method
- In a large bowl, whisk together the flour, sugar, baking powder, and salt until well combined.
- In a separate medium bowl, mix the eggs, milk, melted butter, and vanilla extract.
- Pour the wet ingredients into the dry ingredients and stir gently with a whisk until just combined; a few small lumps are perfectly fine.
- Heat your griddle or frying pan over medium heat and lightly grease it with butter or cooking spray.
- For each bunny, pour one large circle of batter (about 4 inches wide) onto the griddle to form the face.
- Immediately pour two long, thin oval shapes above the face to create the ears.
- Pour two very small circles at the bottom of the face to act as cheeks.
- Cook until bubbles form on the surface and the edges look set, about 2 to 3 minutes.
- Carefully flip the pieces and cook for another 1 to 2 minutes until golden brown.
- Assemble the bunny on a plate by placing the ears at the top of the face and the cheeks in the center.
- Decorate with blueberry eyes and strawberry slices for the nose and inner ears.