Fudgy Chocolate Brownies with Nuts Recipe
Achieving the perfect balance of a dense, chewy interior and a crackly top is the hallmark of a high-quality homemade dessert. While many recipes result in a cake-like texture, true indulgence comes from a high fat-to-flour ratio that creates a rich, melt-in-the-mouth experience. When you add toasted walnuts or pecans to the batter, you introduce a necessary textural contrast that cuts through the intense cocoa profile. Preparing a batch of fudgy chocolate brownies with nuts is a straightforward process that rewards you with a sophisticated treat perfect for sharing or enjoying over several days.
The key to this specific style of brownie lies in the melting process and the careful incorporation of eggs. By melting high-quality chocolate with butter, you ensure a glossy, smooth base that sets into a decadent fudge once cooled. The inclusion of chopped nuts not only adds a satisfying crunch but also provides a nutty earthiness that complements the deep notes of dark chocolate. Whether you are a fan of classic walnuts or prefer the buttery sweetness of pecans, these additions transform a simple cocoa-based square into a centerpiece dessert.
- Prep time: 15 minutes
- Cook time: 30 minutes
- Total time: 45 minutes
- Servings: 16 squares
- Calories: 380 per serving
Why You’ll Love This Recipe
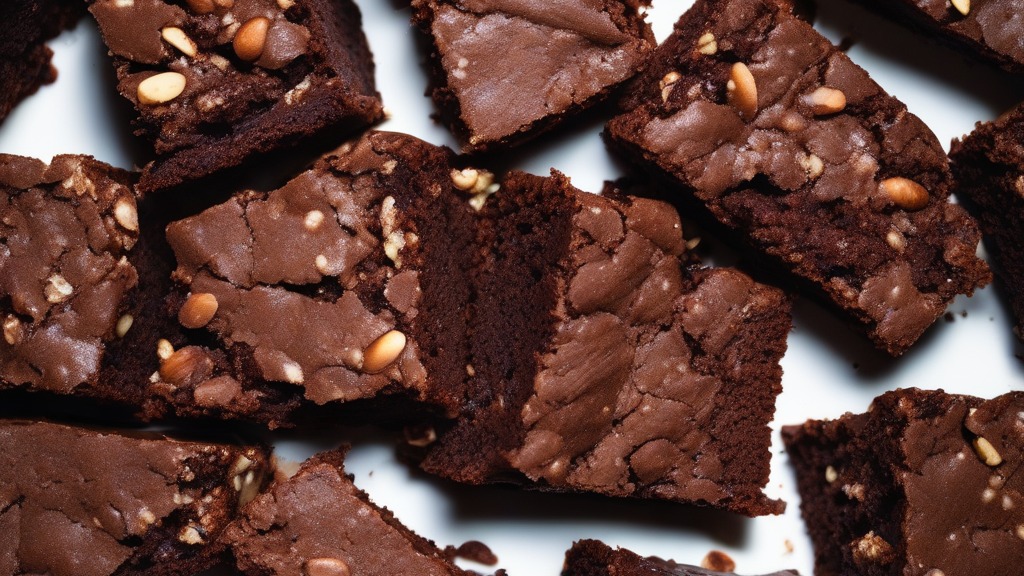
- The texture is remarkably dense and moist, avoiding the dry, crumbly finish of standard box mixes.
- You can customize the crunch by choosing between toasted walnuts, pecans, or even hazelnuts.
- The recipe requires only one saucepan and one mixing bowl, keeping cleanup minimal.
- These brownies actually improve in flavor and texture after sitting for 24 hours, making them ideal for advance preparation.
- The ingredient list relies on pantry staples, meaning you can whip up a batch without specialized supplies.
Ingredients
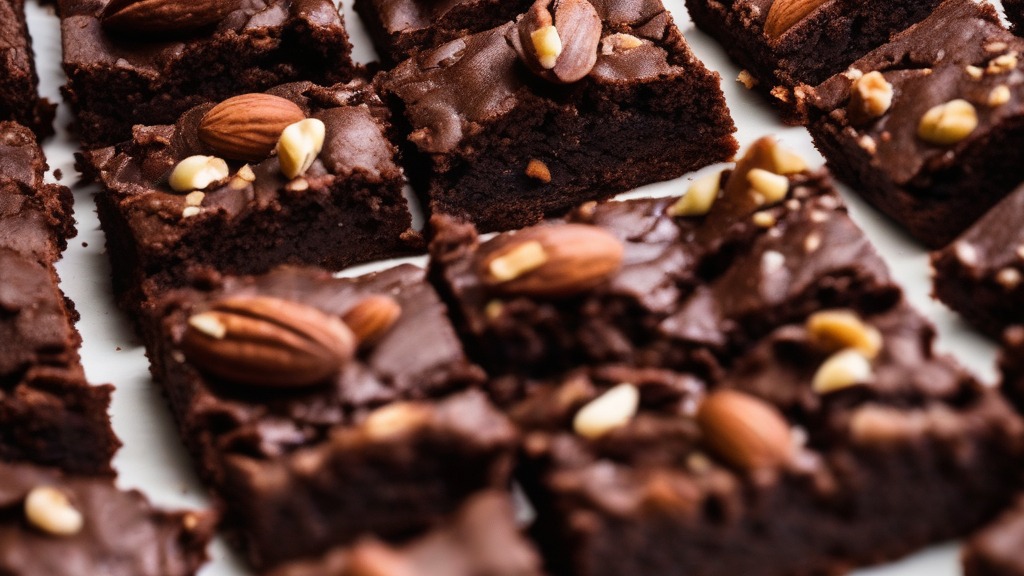
- 200 grams unsalted butter, cubed
- 200 grams high-quality dark chocolate (60% to 70% cocoa solids), chopped
- 250 grams granulated white sugar
- 3 large eggs, at room temperature
- 1 teaspoon vanilla extract
- 100 grams all-purpose flour
- 30 grams unsweetened cocoa powder
- 1/4 teaspoon fine sea salt
- 150 grams walnuts or pecans, roughly chopped
Equipment Needed
- 8×8-inch square metal baking pan
- Parchment paper
- Large saucepan
- Rubber spatula
- Whisk
- Mixing bowl
- Knife and cutting board
- Wire cooling rack
How To Make
- Preheat your oven to 175°C (350°F) and line your 8×8-inch metal pan with parchment paper, leaving an overhang on two sides for easy removal.
- In a large saucepan over low heat, melt the butter and chopped dark chocolate together, stirring constantly until completely smooth. Remove from heat and allow it to cool slightly for five minutes.
- Whisk the sugar into the chocolate mixture until combined.
- Add the eggs one at a time, whisking well after each addition until the batter looks glossy and cohesive. Stir in the vanilla extract.
- Sift the flour, cocoa powder, and salt directly into the pan. Use your spatula to fold the dry ingredients into the chocolate mixture until just combined; do not over-mix, as this will lead to a tough brownie.
- Fold in the chopped nuts, reserving a small handful to sprinkle on top if desired.
- Pour the batter into the prepared baking pan, spreading it evenly into the corners.
- Bake for 25 to 30 minutes. The brownies are ready when the edges are set and a toothpick inserted into the center comes out with a few moist, fudgy crumbs attached, but no wet batter.
- Allow the brownies to cool completely in the pan on a wire rack before lifting them out using the parchment paper handles.
Expert Cooking Tips
- For the best flavor, toast your nuts in a dry pan over medium heat for 3 to 4 minutes before adding them to the batter.
- Use a metal pan rather than glass, as it conducts heat more efficiently and creates the signature crisp edge.
- If you prefer a cleaner cut, chill the brownies in the refrigerator for two hours before slicing them with a hot, damp knife.
- Avoid over-baking the center; it is better to pull them out a minute early to ensure they remain dense rather than cakey.
- Store leftovers in an airtight container at room temperature for up to four days, or freeze individual squares wrapped in plastic for up to three months.
Frequently Asked Questions
Can I substitute the dark chocolate with milk chocolate?
You can, but the final result will be significantly sweeter and less fudgy. Dark chocolate provides the structure and bitterness needed to balance the sugar. If you use milk chocolate, consider reducing the granulated sugar by about 30 grams.
How do I know if they are done without over-baking?
The toothpick test is your best guide. You want to see moist crumbs clinging to the toothpick. If it comes out clean, the brownie is likely over-baked; if it comes out with liquid batter, it needs more time.
Why did my brownies turn out cakey instead of fudgy?
This usually happens if you over-mix the batter after adding the flour, which develops gluten. Fold the dry ingredients in gently until just incorporated to keep the texture dense and fudgy.
Can I make these ahead of time?
Yes, these brownies hold up beautifully. In fact, the flavors meld and the texture settles into a perfect fudge consistency after resting overnight. They are actually easier to slice once fully cooled.
Conclusion
Mastering this recipe provides you with a reliable dessert that balances the intensity of dark cocoa with the satisfying crunch of toasted nuts. By focusing on the quality of your chocolate and avoiding the temptation to over-bake, you ensure a consistent result every time you step into the kitchen. These fudgy chocolate brownies with nuts represent the ideal balance of simple technique and rich, rewarding flavor.
Feel free to experiment with different types of nuts, such as macadamias or hazelnuts, to see how they change the profile of the dessert. If you have any questions about the process or want to share how your batch turned out, please let me know. I hope you enjoy the process of creating these decadent squares as much as you enjoy eating them.
Fudgy Chocolate Brownies with Nuts Recipe
Ingredients
Equipment
Method
- Preheat your oven to 175°C (350°F) and line your 8×8-inch metal pan with parchment paper, leaving an overhang on two sides for easy removal.
- In a large saucepan over low heat, melt the butter and chopped dark chocolate together, stirring constantly until completely smooth. Remove from heat and allow it to cool slightly for five minutes.
- Whisk the sugar into the chocolate mixture until combined.
- Add the eggs one at a time, whisking well after each addition until the batter looks glossy and cohesive. Stir in the vanilla extract.
- Sift the flour, cocoa powder, and salt directly into the pan. Use your spatula to fold the dry ingredients into the chocolate mixture until just combined; do not over-mix, as this will lead to a tough brownie.
- Fold in the chopped nuts, reserving a small handful to sprinkle on top if desired.
- Pour the batter into the prepared baking pan, spreading it evenly into the corners.
- Bake for 25 to 30 minutes. The brownies are ready when the edges are set and a toothpick inserted into the center comes out with a few moist, fudgy crumbs attached, but no wet batter.
- Allow the brownies to cool completely in the pan on a wire rack before lifting them out using the parchment paper handles.