

Whipped Cream Recipe – Easy Homemade Fluffy Topping
The best part? Making whipped cream at home requires only a few simple ingredients and takes less than 10 minutes. Whether you’re topping a slice of pie, decorating cakes, serving fresh berries, or adding a luxurious finish to hot chocolate, homemade whipped cream delivers unbeatable flavor and texture every time.
This easy whipped cream recipe is naturally gluten-free, low in carbohydrates, and can easily be adapted to fit keto, sugar-free, or dairy-free lifestyles. Plus, you’ll have complete control over the sweetness and flavor, allowing you to customize it exactly how you like it.
If you’ve never made whipped cream from scratch before, don’t worry. This foolproof recipe will guide you through every step to achieve perfectly fluffy peaks without overwhipping. Once you try homemade whipped cream, you’ll never want to go back to the canned version again.
Ingredients
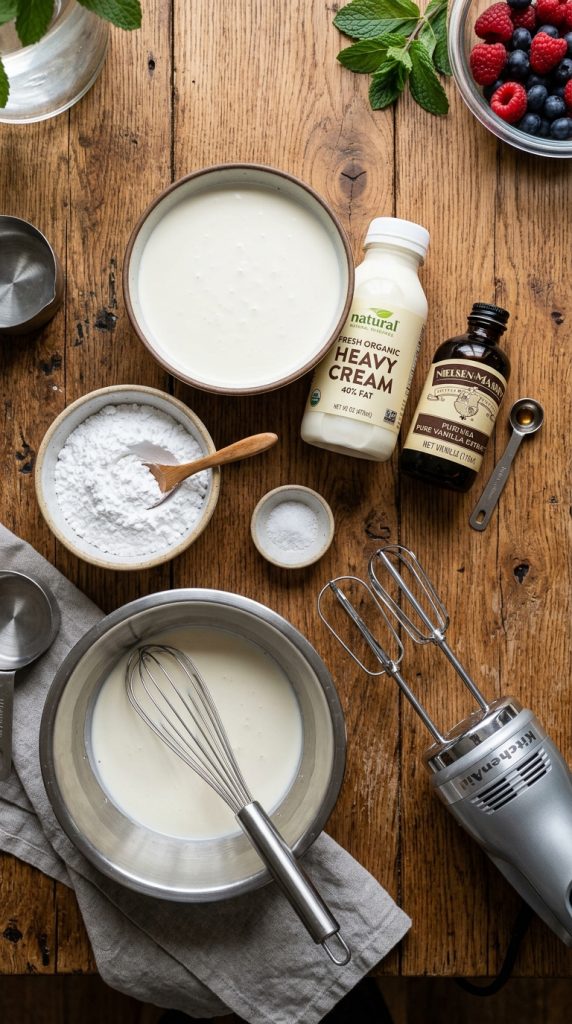
To make approximately 2 cups of whipped cream, you’ll need:
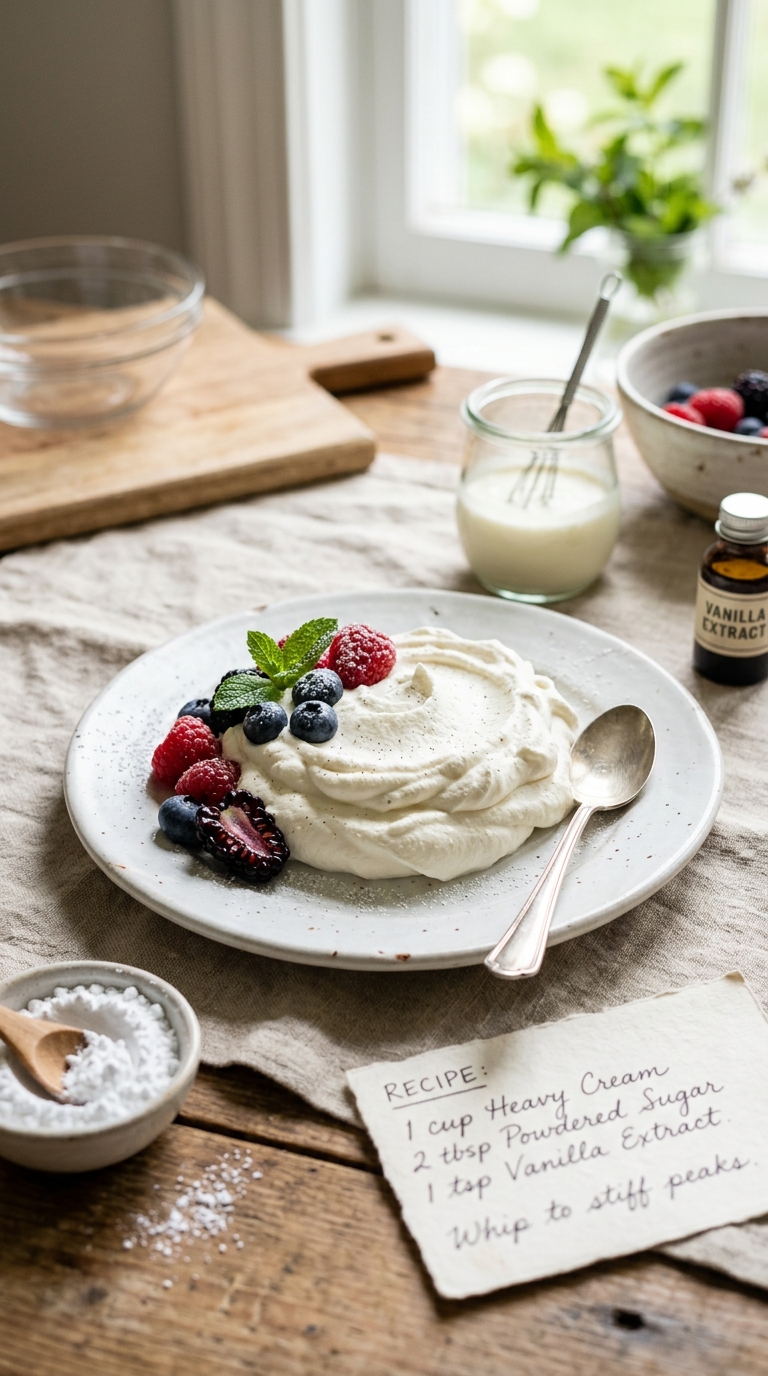
- 1 cup (240 ml) heavy whipping cream, chilled
- 2 tablespoons powdered sugar
- 1 teaspoon pure vanilla extract
Optional Variations
- 1 tablespoon maple syrup instead of powdered sugar
- ½ teaspoon almond extract for extra flavor
- 1 tablespoon cocoa powder for chocolate whipped cream
- Sugar-free sweetener for a keto whipped cream recipe
- Coconut cream for a dairy-free alternative
Equipment
Before getting started, gather these kitchen tools:
- Large mixing bowl
- Hand mixer or stand mixer
- Measuring cups and spoons
- Rubber spatula
- Fine mesh sieve (optional for powdered sugar)
Alternative Equipment
- Balloon whisk (manual method)
- Mason jar with lid (shake method)
- Food processor for quick whipping
For best results, chill the mixing bowl and beaters in the refrigerator for at least 15 minutes before making the whipped cream.
Instructions / Method
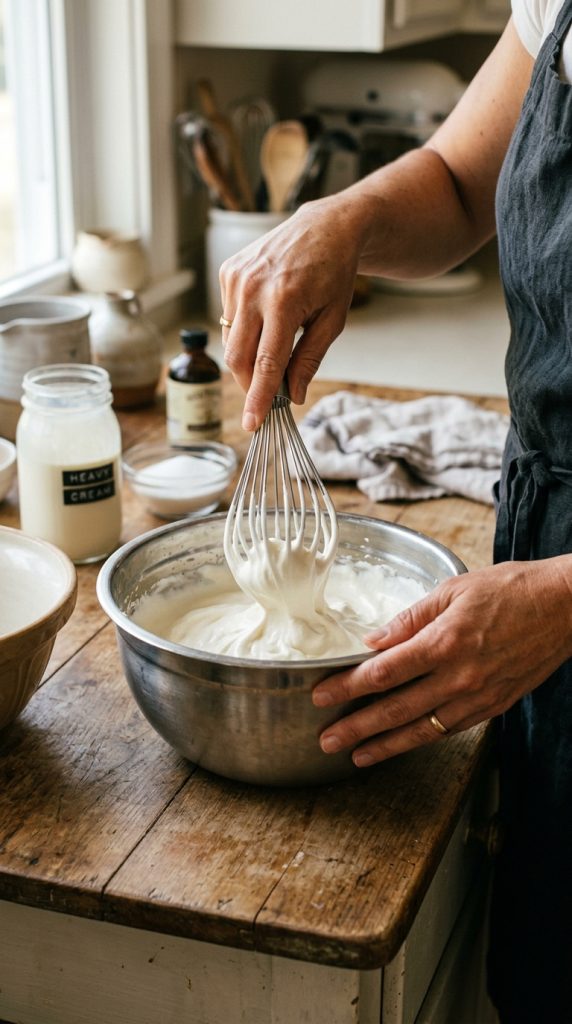
Step 1: Chill Everything
Place your mixing bowl and mixer attachments in the refrigerator or freezer for about 15 minutes. Cold equipment helps the cream whip faster and hold its shape longer.
Step 2: Add Ingredients
Pour the chilled heavy whipping cream into the cold mixing bowl.
Add:
- Powdered sugar
- Vanilla extract
These ingredients will blend smoothly into the cream while whipping.
Step 3: Begin Whipping
Using a hand mixer or stand mixer, start beating on low speed for about 30 seconds.
Gradually increase to medium-high speed.
This slow start prevents splattering and ensures even aeration.
Step 4: Watch for Soft Peaks
After 2–3 minutes, the cream will begin thickening.
When you lift the beaters, the cream should form soft peaks that gently fold over.
Soft peaks are ideal for:
- Coffee toppings
- Fruit parfaits
- Pancakes
- Waffles
Step 5: Continue to Stiff Peaks
Keep whipping for another minute.
The cream is ready when firm peaks stand upright when the beaters are lifted.
This texture works perfectly for:
- Cake decorating
- Cupcake frosting
- Pie toppings
- Dessert fillings
Step 6: Avoid Overwhipping
Stop immediately once stiff peaks form.
Overwhipping can cause the cream to become grainy and eventually turn into butter.
Step 7: Serve or Store
Use immediately or refrigerate until needed.
Homemade whipped cream is best enjoyed within 24 hours but can stay fresh for up to 3 days.
Health Benefits
Although whipped cream is often viewed as an indulgence, it does offer some nutritional benefits when enjoyed in moderation.
Source of Healthy Fats
Heavy cream contains dietary fats that help promote satiety and provide long-lasting energy.
Contains Fat-Soluble Vitamins
Cream naturally contains:
- Vitamin A
- Vitamin D
- Vitamin E
- Vitamin K
These vitamins support eye health, immunity, and overall wellness.
Keto-Friendly Option
A homemade whipped cream recipe can easily fit a ketogenic lifestyle when made with sugar-free sweeteners.
Lower Sugar Than Store-Bought Versions
Making whipped cream from scratch allows you to control sweetness levels and avoid preservatives and artificial ingredients.
Better Ingredient Transparency
Homemade recipes eliminate unnecessary additives often found in commercial whipped toppings.
Cooking Tips & Tricks
Use Cold Heavy Cream
Cold cream whips much more effectively than room-temperature cream.
Chill Your Bowl
A chilled metal bowl helps stabilize the cream and creates better volume.
Don’t Rush
Start at a low speed before increasing to prevent splashes and ensure smooth whipping.
Sweeten Gradually
Taste and adjust sweetness according to your preference.
Avoid Overwhipping
The most common mistake is whipping too long. Stop once stiff peaks form.
Stabilize for Longer Storage
For whipped cream that holds its shape for several hours:
- Add 1 teaspoon cornstarch
- Add 1 teaspoon unflavored gelatin
- Use mascarpone cheese
Use Powdered Sugar
Powdered sugar dissolves more easily than granulated sugar and helps create a smoother texture.
Variations
One of the best things about this whipped cream recipe is how versatile it is.
Keto Whipped Cream Recipe
Replace powdered sugar with:
- Erythritol
- Monk fruit sweetener
- Stevia blend
This creates a low-carb whipped cream perfect for keto desserts.
Vegan Whipped Cream Recipe
Substitute heavy cream with chilled coconut cream.
Whip exactly as you would traditional cream.
Chocolate Whipped Cream
Add:
- 1 tablespoon cocoa powder
- Extra powdered sugar to taste
Perfect for cakes and brownies.
Coffee-Flavored Whipped Cream
Mix in:
- 1 teaspoon instant espresso powder
Ideal for coffee drinks and tiramisu.
Honey Whipped Cream
Use honey instead of sugar for a naturally sweet flavor.
Cinnamon Whipped Cream
Add:
- ½ teaspoon ground cinnamon
Great for pumpkin pie and holiday desserts.
Strawberry Whipped Cream
Blend in fresh strawberry puree for a fruity twist.
Low-Fat Version
Use light whipping cream, though the final texture may be less stable.
Pairings / Serving Ideas
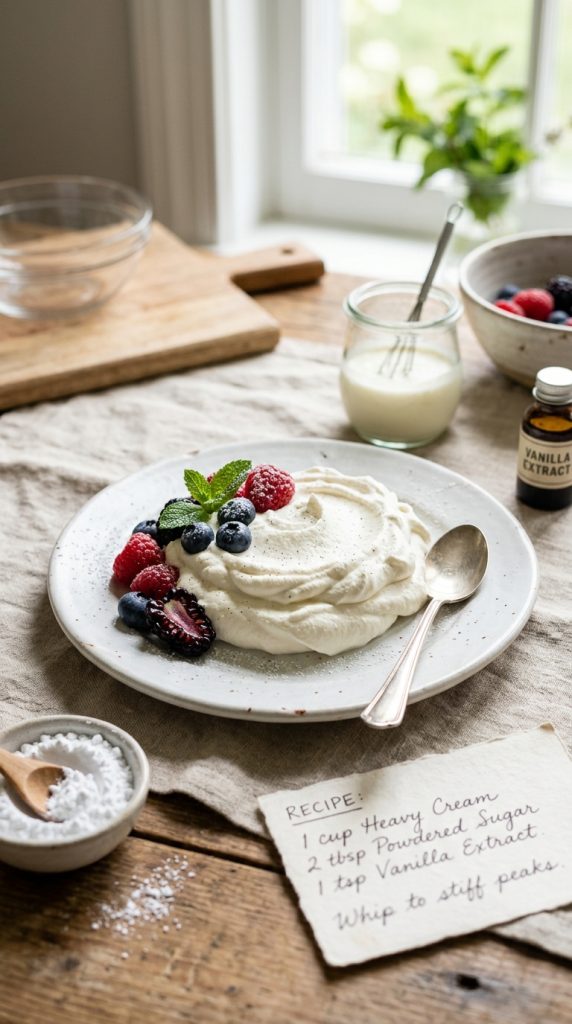
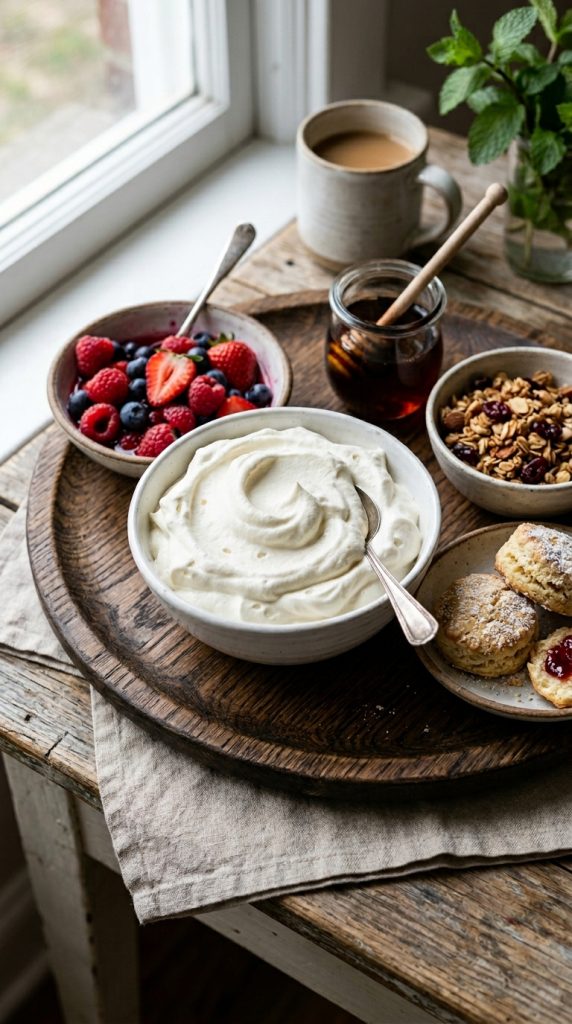
Homemade whipped cream complements countless desserts and beverages.
Desserts
- Apple pie
- Pumpkin pie
- Cheesecake
- Brownies
- Chocolate cake
- Fruit tarts
Breakfast Favorites
- Pancakes
- Waffles
- French toast
- Crepes
Fresh Fruit
Serve with:
- Strawberries
- Blueberries
- Raspberries
- Peaches
Hot Drinks
Add a dollop to:
- Coffee
- Hot chocolate
- Mocha lattes
- Chai tea
Ice Cream Toppings
Whipped cream adds an extra creamy layer to sundaes and milkshakes.
Storage Tips
Store whipped cream in an airtight container in the refrigerator.
If separation occurs, gently whisk for a few seconds before serving.
FAQs
Why is my whipped cream not thickening?
The most common reason is that the cream isn’t cold enough. Use chilled heavy whipping cream with at least 36% milk fat and ensure your bowl is cold.
Can I make whipped cream without a mixer?
Yes. You can whisk by hand, shake cream in a mason jar, or use a food processor.
How long does homemade whipped cream last?
Fresh whipped cream typically lasts 2–3 days in the refrigerator when stored properly.
Can I freeze whipped cream?
Yes. Pipe or spoon portions onto a baking sheet, freeze until solid, then transfer to freezer bags.
What’s the difference between whipping cream and heavy cream?
Heavy cream contains more milk fat, making it easier to whip and resulting in a more stable texture.
Can I make sugar-free whipped cream?
Absolutely. Replace powdered sugar with a keto-friendly sweetener such as erythritol or monk fruit.
Conclusion
This easy whipped cream recipe proves that homemade is always worth the extra few minutes. With just three simple ingredients, you can create a rich, fluffy topping that enhances everything from cakes and pies to coffee and fresh fruit.
Not only is homemade whipped cream fresher and more flavorful than store-bought alternatives, but it’s also incredibly customizable. Whether you’re looking for a keto whipped cream recipe, a dairy-free version, or a decadent chocolate variation, this versatile recipe has you covered.
Whipped Cream Recipe
Ingredients
Equipment
Method
- Step 1: Chill Everything
- Place your mixing bowl and mixer attachments in the refrigerator or freezer for about 15 minutes. Cold equipment helps the cream whip faster and hold its shape longer.
- Step 2: Add Ingredients
- Pour the chilled heavy whipping cream into the cold mixing bowl.
- Add:
- Powdered sugar
- Vanilla extract
- These ingredients will blend smoothly into the cream while whipping.
- Step 3: Begin Whipping
- Using a hand mixer or stand mixer, start beating on low speed for about 30 seconds.
- Gradually increase to medium-high speed.
- This slow start prevents splattering and ensures even aeration.
- Step 4: Watch for Soft Peaks
- After 2–3 minutes, the cream will begin thickening.
- When you lift the beaters, the cream should form soft peaks that gently fold over.
- Soft peaks are ideal for:
- Coffee toppings
- Fruit parfaits
- Pancakes
- Waffles
- Step 5: Continue to Stiff Peaks
- Keep whipping for another minute.
- The cream is ready when firm peaks stand upright when the beaters are lifted.
- This texture works perfectly for:
- Cake decorating
- Cupcake frosting
- Pie toppings
- Dessert fillings
- Step 6: Avoid Overwhipping
- Stop immediately once stiff peaks form.
- Overwhipping can cause the cream to become grainy and eventually turn into butter.
- Step 7: Serve or Store
- Use immediately or refrigerate until needed.
- Homemade whipped cream is best enjoyed within 24 hours but can stay fresh for up to 3 days.


