No Bake Easter Egg Cheesecake – Easy Recipe
Creating a festive dessert doesn’t have to involve complicated pastry work or heating up the oven. A decadent no bake easter egg cheesecake provides a smooth, velvety texture that contrasts beautifully with the crunch of chocolate candy shells. Because it relies on refrigeration to set rather than baking, you avoid the risk of cracks or overcooking the custard.
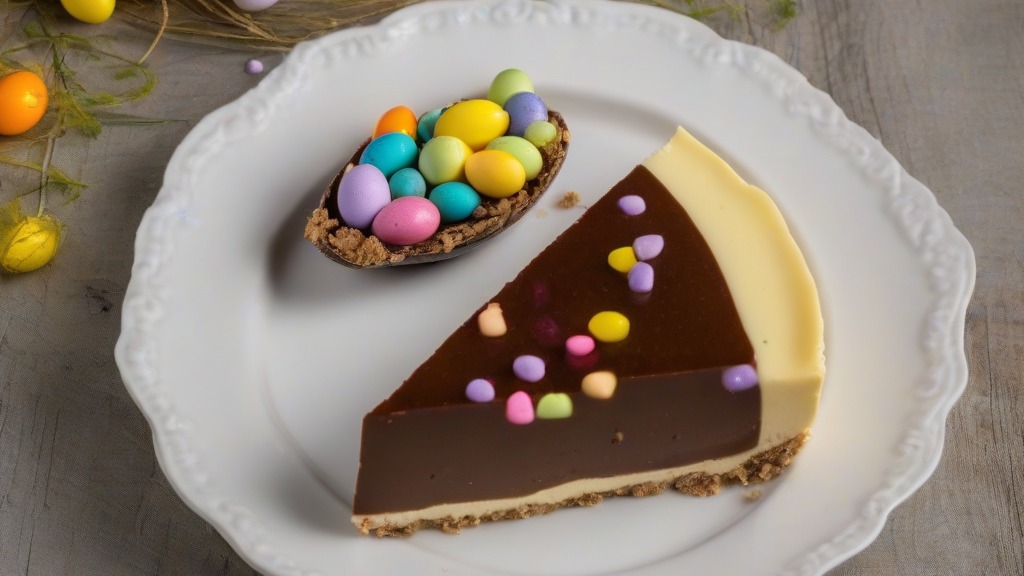
This treat is ideal for spring gatherings where you want a show-stopping centerpiece that can be prepared well in advance. By using hollow chocolate eggs as individual vessels or as a topping for a larger set cheesecake, you create a visually striking dessert that captures the spirit of the season. The combination of rich cream cheese and sweet chocolate creates a balanced flavor profile that appeals to both children and adults.
- Prep time: 20 minutes
- Cook time: 0 minutes
- Total time: 4 hours 20 minutes
- Servings: 12
- Calories: 510 per serving
Why You’ll Love This Recipe
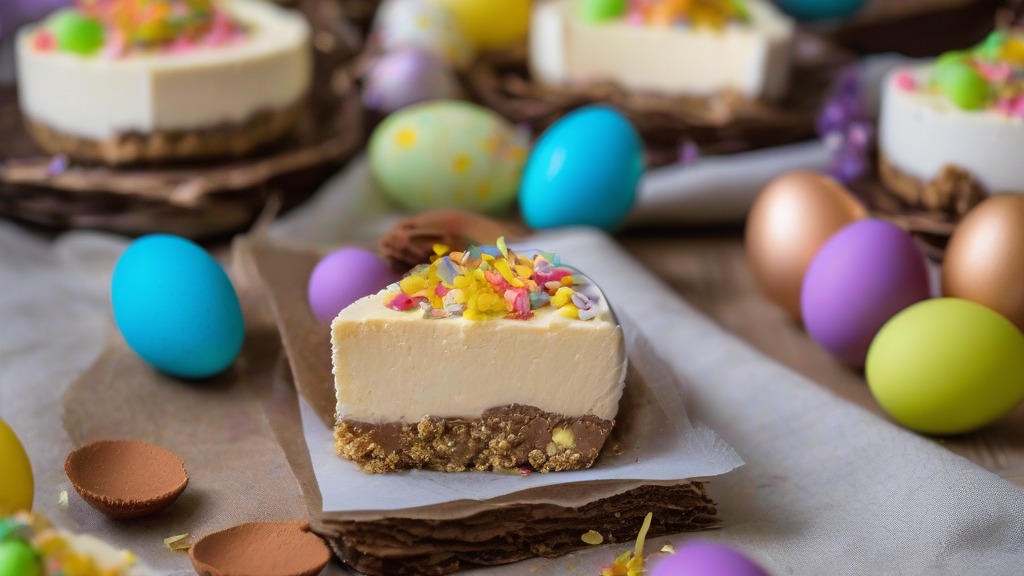
- The texture is exceptionally light and creamy, offering a professional mouthfeel without the need for a water bath.
- Preparation is straightforward and requires zero oven time, making it perfect for busy holiday weekends.
- You can customize the flavor by swapping out the type of chocolate eggs used for the topping or the base.
- It serves as an excellent make-ahead dessert, as it actually benefits from sitting in the refrigerator overnight.
- The presentation is naturally festive and requires minimal effort to decorate, relying on the vibrant colors of seasonal candy.
Ingredients
- 150g digestive biscuits, finely crushed
- 75g unsalted butter, melted
- 300g full-fat cream cheese, softened to room temperature
- 100g icing sugar, sifted
- 1 teaspoon vanilla bean paste
- 200ml double cream, chilled
- 150g milk chocolate mini eggs, roughly chopped
- 100g whole chocolate mini eggs, for decoration
Equipment Needed
- Mixing bowls
- Electric hand mixer or stand mixer with a whisk attachment
- Rubber spatula
- 7-inch springform cake tin
- Rolling pin or food processor for crushing biscuits
- Measuring cups and spoons
How To Make
- Line the base of your springform tin with parchment paper to ensure easy removal later.
- Combine the crushed digestive biscuits and melted butter in a bowl, stirring until the mixture resembles wet sand.
- Press the biscuit mixture firmly into the bottom of the tin using the back of a spoon, creating an even layer, then chill in the fridge for 20 minutes.
- In a large bowl, beat the softened cream cheese, icing sugar, and vanilla bean paste together until completely smooth and free of lumps.
- In a separate bowl, whip the double cream until it forms soft peaks, being careful not to over-whip into butter.
- Gently fold the whipped cream into the cream cheese mixture using a spatula, maintaining as much air as possible.
- Fold the chopped mini eggs into the cheesecake batter until evenly distributed.
- Pour the mixture over the chilled biscuit base, smoothing the top with your spatula.
- Refrigerate for at least 4 hours, or ideally overnight, until the cheesecake is firmly set.
- Remove the sides of the tin carefully and decorate the top with the remaining whole mini eggs before serving.
Expert Cooking Tips
- Ensure your cream cheese is at room temperature before mixing to prevent grainy textures in the filling.
- If you find the cheesecake is soft after the recommended time, leave it in the fridge for another two hours; a longer chill time is always safer.
- For a cleaner slice, run a sharp knife under hot water and wipe it dry between each cut.
- You can substitute the digestive biscuits with ginger biscuits if you prefer a slightly spiced flavor profile that cuts through the richness of the cream.
- Avoid over-mixing the filling once the cream is added, as this can deflate the aeration you worked to create.
Frequently Asked Questions
Can I make this ahead of time?
Yes, this dessert is actually better when prepared a day in advance. The flavors have more time to meld, and the structure becomes more stable for slicing.
How long does the cheesecake keep in the fridge?
You can store this in an airtight container in the refrigerator for up to three days. Note that the chocolate eggs on top may lose their crispness over time due to moisture.
Can I freeze this recipe?
While the texture may change slightly after thawing, it is possible to freeze the cheesecake for up to one month. Wrap it tightly in plastic wrap and foil. Thaw it in the refrigerator overnight before adding the fresh chocolate egg decorations.
Why did my filling not set properly?
The most common reason for a loose filling is not using full-fat cream cheese or failing to whip the cream to the correct stage. Always use high-fat dairy products to ensure the proteins and fats provide the necessary structure.
Conclusion
Mastering a dessert that balances convenience with elegance is a rewarding experience for any home cook. By focusing on quality ingredients and allowing sufficient chilling time, you ensure that every slice maintains its structure and rich, creamy consistency. This approach takes the stress out of holiday hosting, letting you focus on enjoying the celebration with your guests rather than worrying about complex oven techniques.
Whether you choose to serve this as a centerpiece or in individual portions, a no bake easter egg cheesecake is sure to be a highlight of your holiday table. Experimenting with different varieties of chocolate or adding a hint of orange zest to the filling can help you tailor the recipe to your personal preferences. We would love to hear how your version turned out, so please share your feedback or any creative variations you discovered while preparing this delightful treat.
No Bake Easter Egg Cheesecake
Ingredients
Method
- Line the base of your springform tin with parchment paper to ensure easy removal later.
- Combine the crushed digestive biscuits and melted butter in a bowl, stirring until the mixture resembles wet sand.
- Press the biscuit mixture firmly into the bottom of the tin using the back of a spoon, creating an even layer, then chill in the fridge for 20 minutes.
- In a large bowl, beat the softened cream cheese, icing sugar, and vanilla bean paste together until completely smooth and free of lumps.
- In a separate bowl, whip the double cream until it forms soft peaks, being careful not to over-whip into butter.
- Gently fold the whipped cream into the cream cheese mixture using a spatula, maintaining as much air as possible.
- Fold the chopped mini eggs into the cheesecake batter until evenly distributed.
- Pour the mixture over the chilled biscuit base, smoothing the top with your spatula.
- Refrigerate for at least 4 hours, or ideally overnight, until the cheesecake is firmly set.
- Remove the sides of the tin carefully and decorate the top with the remaining whole mini eggs before serving.