

No Bake Chocolate Cheesecake – Easy & Creamy Recipe
Creating a rich, velvety dessert without ever turning on the oven is a rewarding way to satisfy a craving for something decadent. A well-executed no bake chocolate cheesecake relies on the simple chemistry of fat and sugar setting firmly in the refrigerator, resulting in a smooth, mousse-like consistency that is far lighter than its baked counterparts. Because it requires no eggs and minimal heat, it is an accessible project for bakers of all skill levels who want a professional-looking dessert without the stress of water baths or cracking crusts.
This dessert is ideal for warm summer days or busy holiday schedules when oven space is at a premium. By using high-quality cocoa powder or melted chocolate, you can control the intensity of the flavor, ranging from a mild milk chocolate profile to a deep, bittersweet finish. Whether you are hosting a dinner party or simply treating your household, this approach ensures a consistently creamy result that holds its shape beautifully when sliced.
- Prep time: 20 minutes
- Cook time: 0 minutes
- Total time: 6 hours (including chilling)
- Servings: 8
Why You’ll Love This Recipe
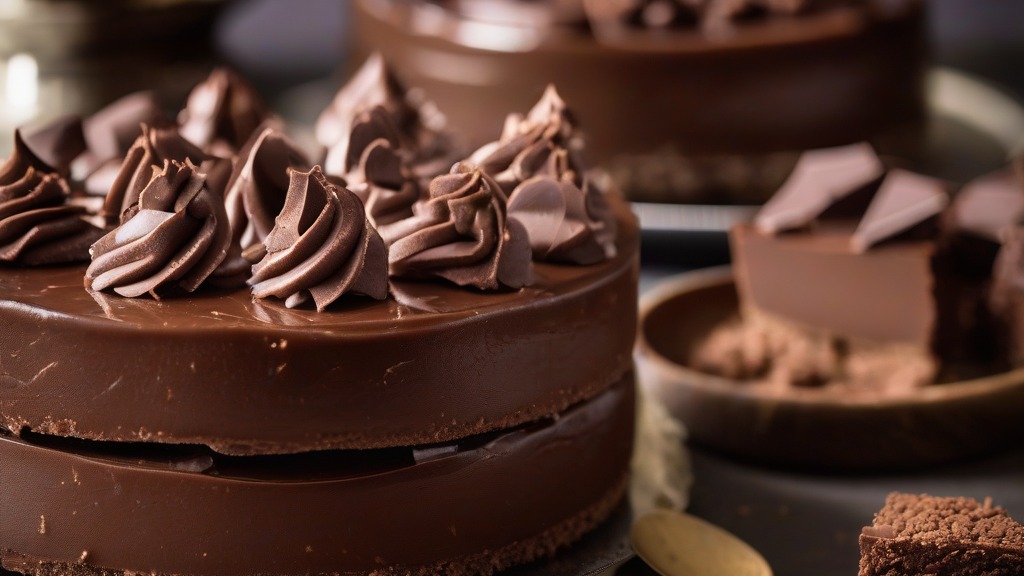
- The texture is incredibly light and airy, avoiding the heavy density often found in traditional baked versions.
- You can prepare the entire dish in under 30 minutes of active work time.
- It is a perfect make-ahead dessert, as it actually improves in flavor and stability after setting overnight.
- The chocolate intensity is fully customizable based on the type of cocoa or chocolate bar you choose to melt into the batter.
- It serves as an impressive centerpiece that requires no specialized baking skills or equipment.
Ingredients
- 1 1/2 cups chocolate sandwich cookie crumbs
- 4 tablespoons unsalted butter, melted
- 16 ounces cream cheese, softened to room temperature
- 1/2 cup granulated sugar
- 1 cup semi-sweet chocolate chips, melted and slightly cooled
- 1 teaspoon vanilla extract
- 1 cup heavy whipping cream, cold
Equipment Needed
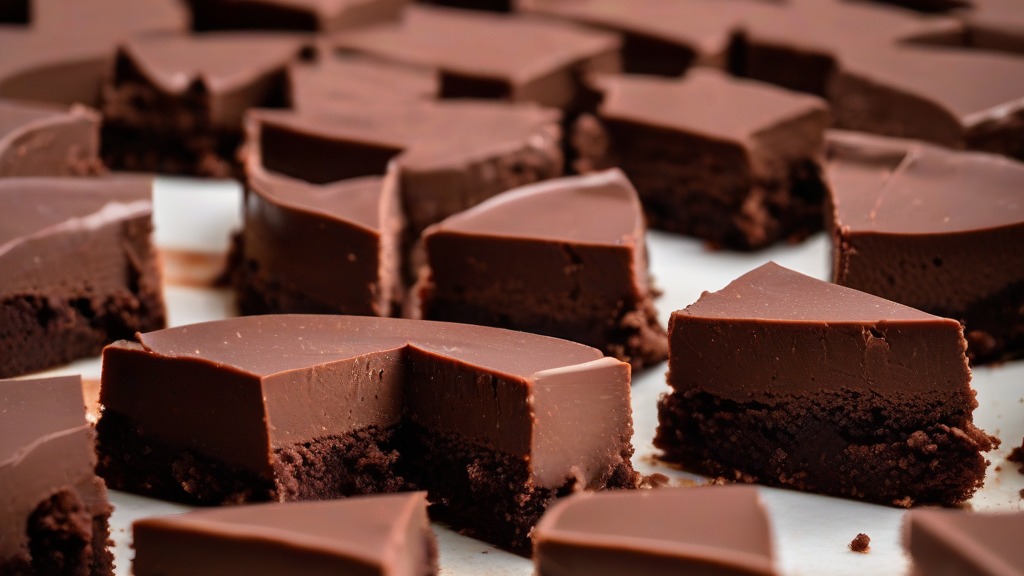
- 9-inch springform pan
- Electric hand mixer or stand mixer
- Large mixing bowl
- Medium mixing bowl
- Rubber spatula
- Measuring cups and spoons
- Microwave-safe bowl for melting chocolate
How To Make
- Combine the cookie crumbs and melted butter in a medium bowl, stirring until the mixture resembles wet sand.
- Press the crumb mixture firmly into the bottom and slightly up the sides of a 9-inch springform pan, then place it in the freezer to firm up while you prepare the filling.
- In a large bowl, beat the softened cream cheese and granulated sugar with an electric mixer on medium-high speed until the texture is completely smooth and free of lumps.
- Pour the melted chocolate and vanilla extract into the cream cheese mixture, beating on low speed until fully incorporated and uniform in color.
- In a separate chilled bowl, whip the heavy cream on high speed until stiff peaks form, ensuring you don’t over-whip it into butter.
- Gently fold the whipped cream into the chocolate cream cheese mixture using a rubber spatula, working in two batches to keep the filling light and airy.
- Pour the filling over the prepared crust, smoothing the top with your spatula to create an even surface.
- Cover the pan tightly with plastic wrap and refrigerate for at least 6 hours, or until the filling is firm to the touch.
- Release the sides of the springform pan carefully before slicing with a hot, clean knife to achieve sharp, clean edges.
Expert Cooking Tips
- Ensure your cream cheese is truly at room temperature before you start; cold cream cheese will leave you with lumpy filling that won’t smooth out.
- To get the cleanest slices, run your knife under hot water and wipe it dry between every single cut.
- If you prefer a more intense flavor, use dark chocolate with 70% cocoa solids instead of standard semi-sweet chips.
- You can store this dessert in the refrigerator for up to 4 days, though it is best enjoyed within the first 48 hours for optimal texture.
- Avoid using “lite” or whipped cream cheese, as the higher water content will prevent the cake from setting properly.
Frequently Asked Questions
Can I freeze this dessert for later?
Yes, this dessert freezes exceptionally well. Wrap the entire cake or individual slices tightly in plastic wrap and then aluminum foil. It will stay fresh in the freezer for up to one month. Thaw it in the refrigerator for several hours before serving.
What if my filling isn’t setting properly?
If the mixture remains too soft after chilling, it is likely that the cream cheese wasn’t beaten enough or the heavy cream was not whipped to stiff peaks. If you are in a rush, you can place the cake in the freezer for 45 minutes to firm up the fats quickly before moving it back to the fridge.
Can I substitute the cookie crust?
You can use any crunchy cookie you enjoy, such as graham crackers or ginger snaps. If you use a different cookie, you may need to adjust the amount of melted butter slightly, as different crumbs absorb fat differently.
How do I know when the heavy cream is whipped enough?
You are looking for stiff peaks, which means when you lift the beaters out of the cream, the mixture should stand straight up without the tip drooping over. Be careful not to beat it past this stage, or the cream will become grainy.
Conclusion
Mastering the art of a chilled dessert provides a reliable way to deliver a sophisticated treat without the unpredictability of an oven. By focusing on the quality of your ingredients and ensuring the cream cheese is perfectly smooth, you can achieve a professional result every time you prepare this dish. This no bake chocolate cheesecake offers a balance of indulgence and simplicity that makes it a staple for any gathering.
Once you have practiced the basic technique, feel free to experiment by folding in fresh raspberries or drizzling a salted caramel sauce over the top before serving. We would love to hear how your version turned out or if you discovered a favorite topping combination. Feel free to reach out with any questions as you perfect your technique in the kitchen.
Related:
Cream Cheese Recipe: Easy, Creamy & Homemade
Fudgy Chocolate Brownies with Nuts Recipe
No Bake Chocolate Cheesecake
Ingredients
Method
- Combine the cookie crumbs and melted butter in a medium bowl, stirring until the mixture resembles wet sand.
- Press the crumb mixture firmly into the bottom and slightly up the sides of a 9-inch springform pan, then place it in the freezer to firm up while you prepare the filling.
- In a large bowl, beat the softened cream cheese and granulated sugar with an electric mixer on medium-high speed until the texture is completely smooth and free of lumps.
- Pour the melted chocolate and vanilla extract into the cream cheese mixture, beating on low speed until fully incorporated and uniform in color.
- In a separate chilled bowl, whip the heavy cream on high speed until stiff peaks form, ensuring you don’t over-whip it into butter.
- Gently fold the whipped cream into the chocolate cream cheese mixture using a rubber spatula, working in two batches to keep the filling light and airy.
- Pour the filling over the prepared crust, smoothing the top with your spatula to create an even surface.
- Cover the pan tightly with plastic wrap and refrigerate for at least 6 hours, or until the filling is firm to the touch.
- Release the sides of the springform pan carefully before slicing with a hot, clean knife to achieve sharp, clean edges.


